


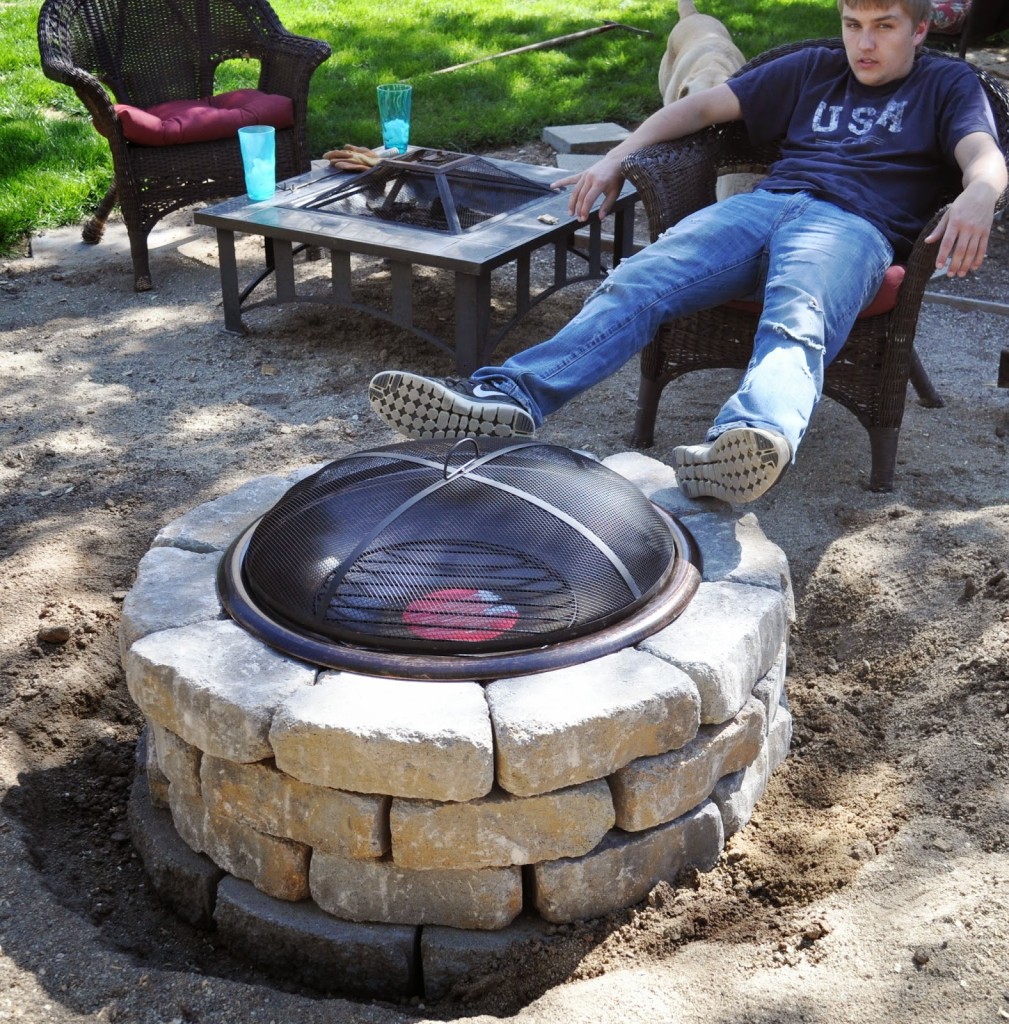
So…a month or so ago we built a fire pit in the backyard where the pool once sat. It was easy enough, and bought a small framed fire bowl to insert into the new fire pit (see pic), so it’d be easy clean up. Great idea, but we ended up with extra pieces, mainly the frame for the purchased fire bowl. I came up with the idea to create a small table of sorts with the frame so we could have someplace to set our drinks when a blazing fire was in the new pit. It was pretty simple too, I just used up scrap supplies I had on hand from previous renovations/projects. So the total cost of the project was about $43 that was the price of the new fire pit kit we bought from Home Depot, and a package of tube straps. If you’ve got a table frame of sorts lying around, along with extra supplies like plywood, tile, mortar and grout…well then you’ve got yourself a cheap and easy project to add to your patio/fire pit decor.So here’s my step by step instructions to make a shattered tile collaged outdoor side table. Whew! That’s a mouthful!
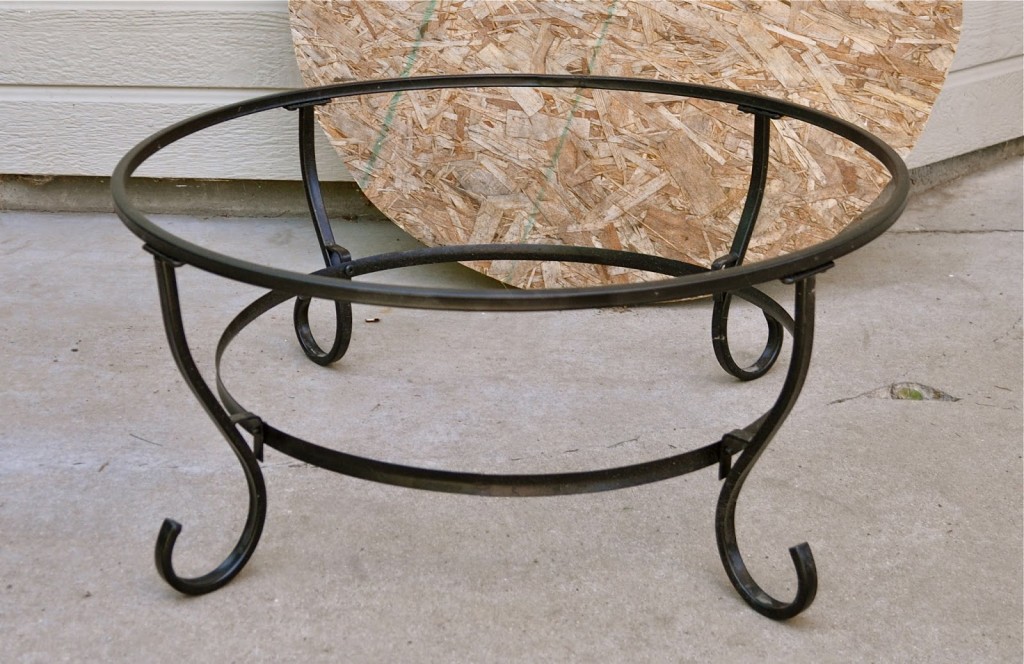

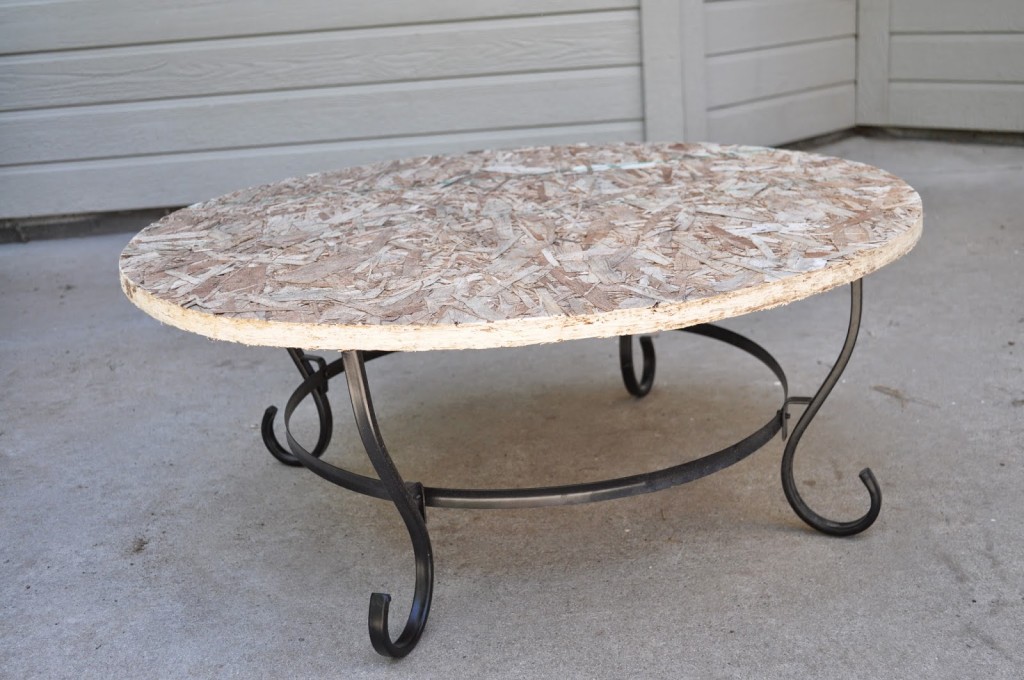
I then grabbed a sheet of left over 3/4″ plywood from our recent rental remodel, and then traced the outline of the round frame on the wood. What I did next (sorry no pics) is trace an even larger circle by using string, a pencil and pushpin. You want to have an overlap on the edges so the frame isn’t right at the edge of the plywood.
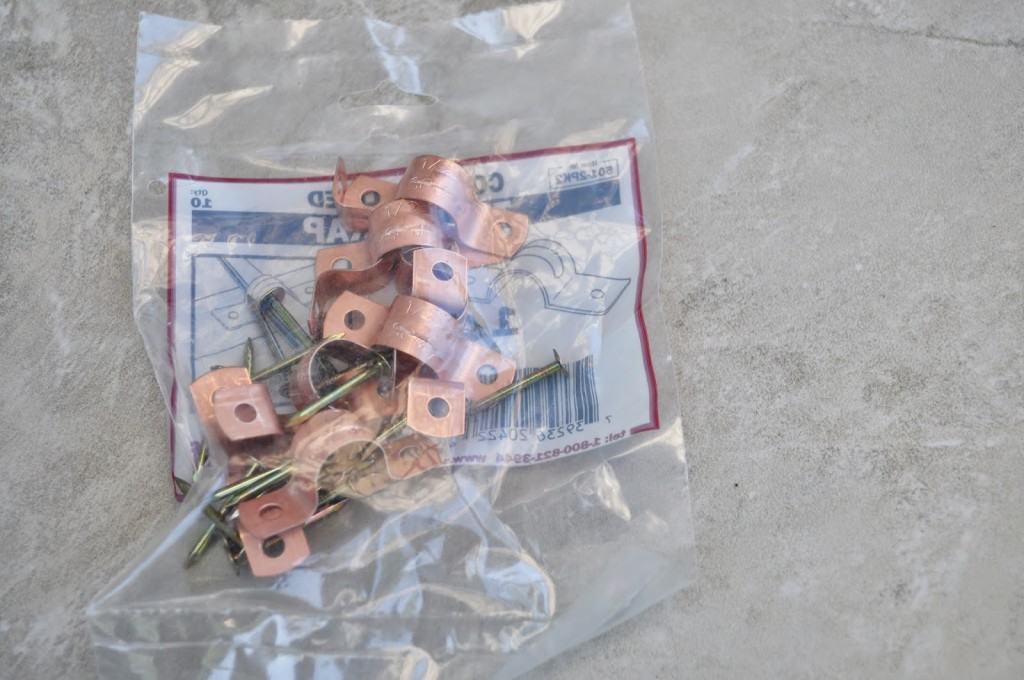
I then purchased these lovely tube straps that you can find at your local Home Depot, Lowes etc. They’re in the irrigation section near sprinkler heads. They’re actually used to hold up irrigation/plumbing tubing, but worked perfect for this project.
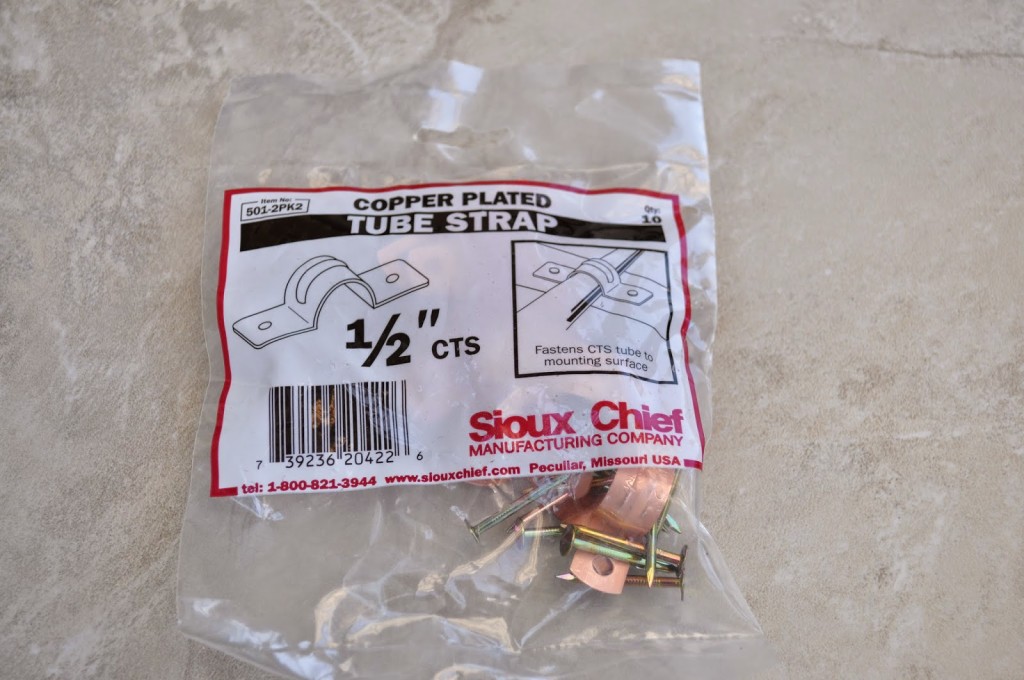
You can buy two different kinds, the galvanized or the copper. I choose the copper because the 1/2″ copper because it was actually smaller. I know, it sounds a little funny, but apparently there is a difference in 1/2″ copper and 1/2″ galvanized tube straps, go figure. If your table frame is larger, than using the 1″ straps.

I attached them to the frame of the table, then used short wood screws to secure the frame to the plywood. I did about two tube straps for each section, so a total of 8 tube straps were used. Just a quick note here, the tube straps come with nails, but I’d recommend using wood screws so it’s secured properly. Then you won’t have to worry about it working itself lose later down the road.
Once you’ve got it attached, turn it upright and check it out. Good work I’d say!
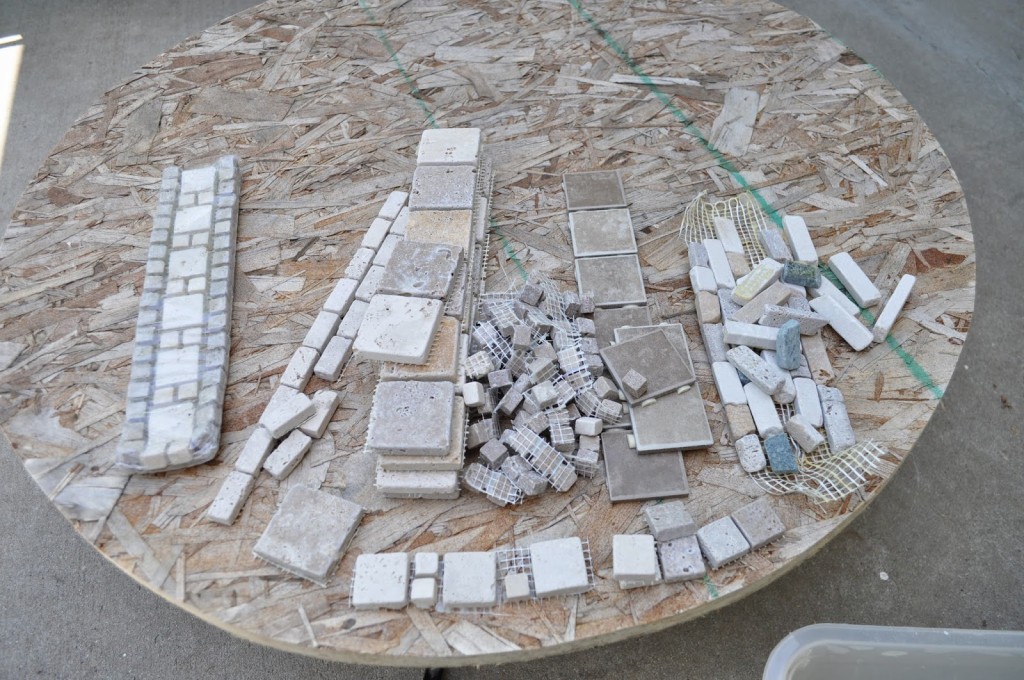
I had a bunch of left over tiles from previous tiling projects around the house over the years. I’d kept them around, regardless of how many times the hubby grumbled about my “stuff” being in the way. I knew one day I’d find a use for them. I took account of what I had, and did a “dry” layout for the edges because I wasn’t sure what pattern/design I wanted, or had enough material for, turns out I had plenty and got creative.
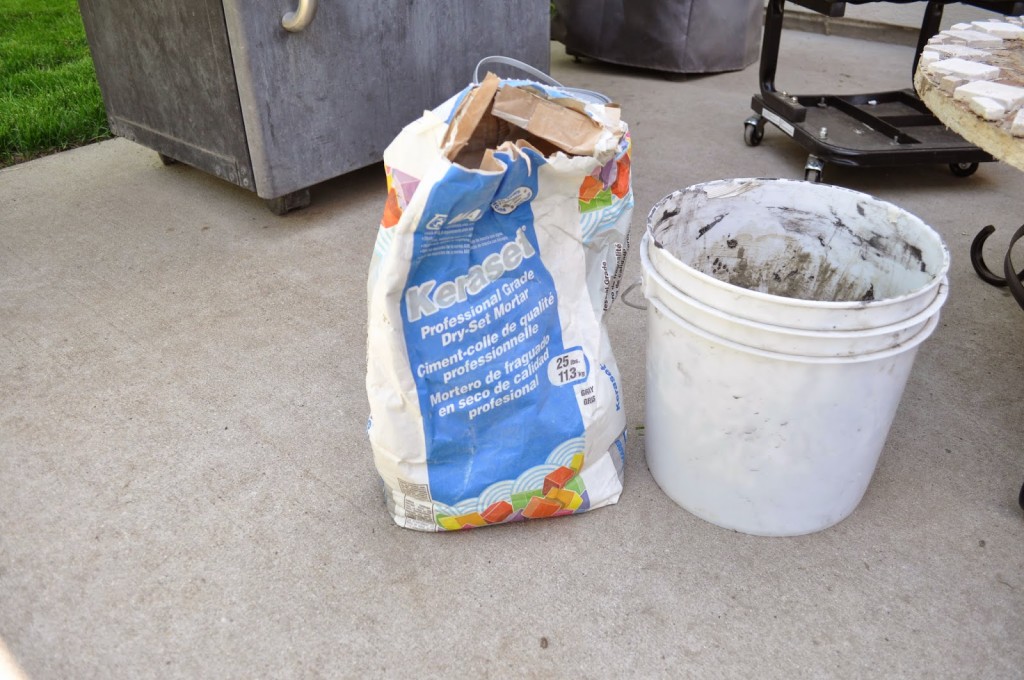
I then grabbed my bag of left over mortar, and mixed it according to directions.
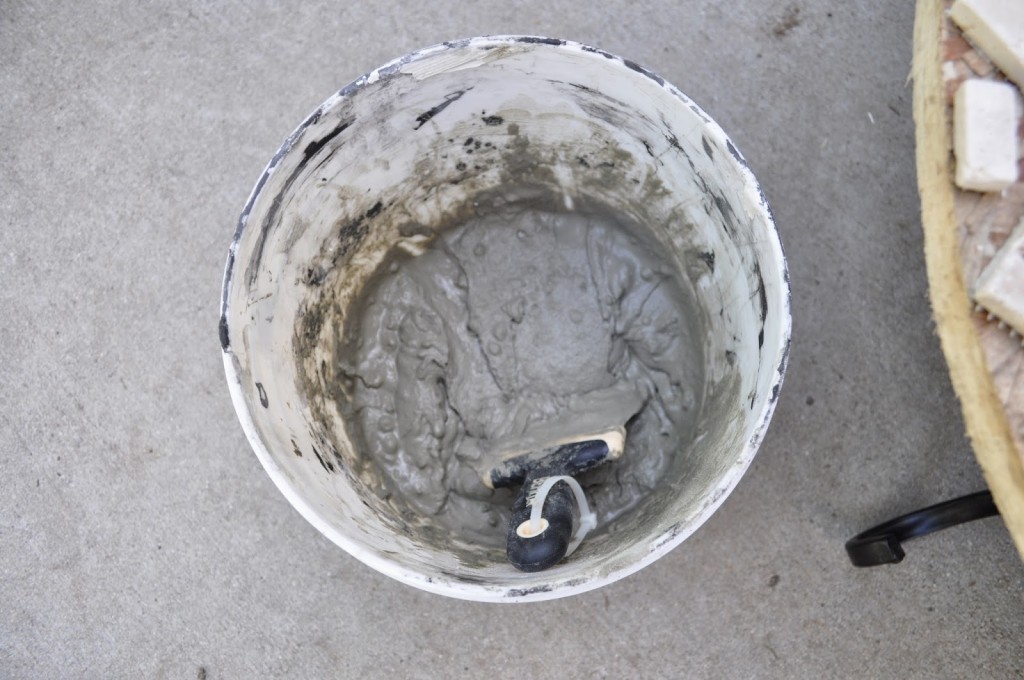
I mixed it to a peanut butter consistency, I allowed it to set up for a few moments before I used it.
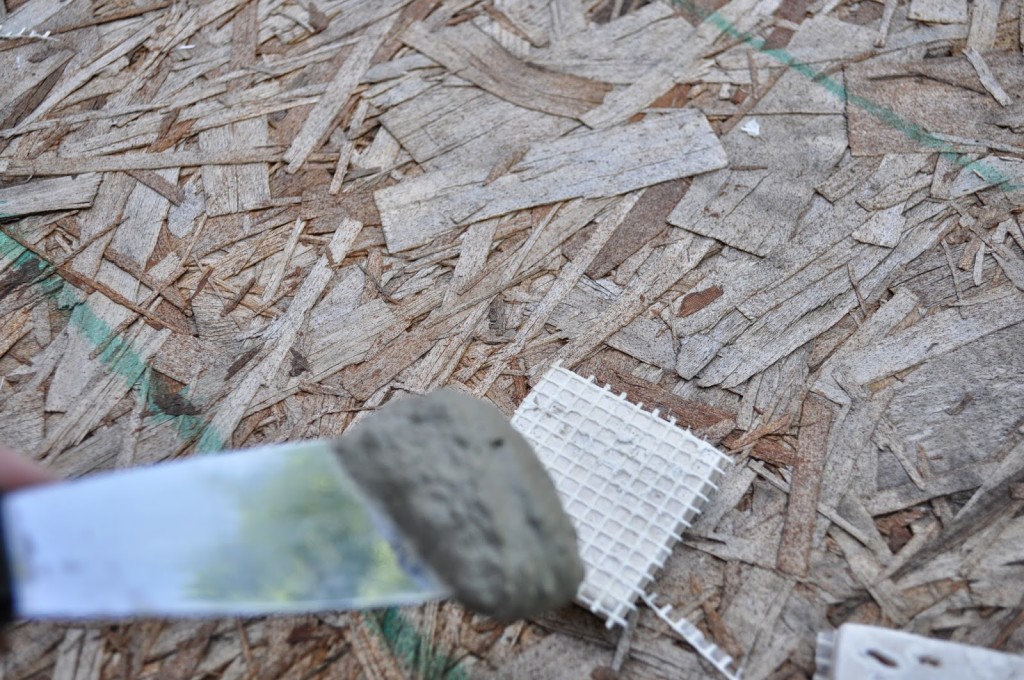
I then used what’s called the “buttering” technique and buttered the tiles individually instead of slapping it all across my wooden surface. You can use a ridged tile spreader if you like, but this is just the way I chose to do it.
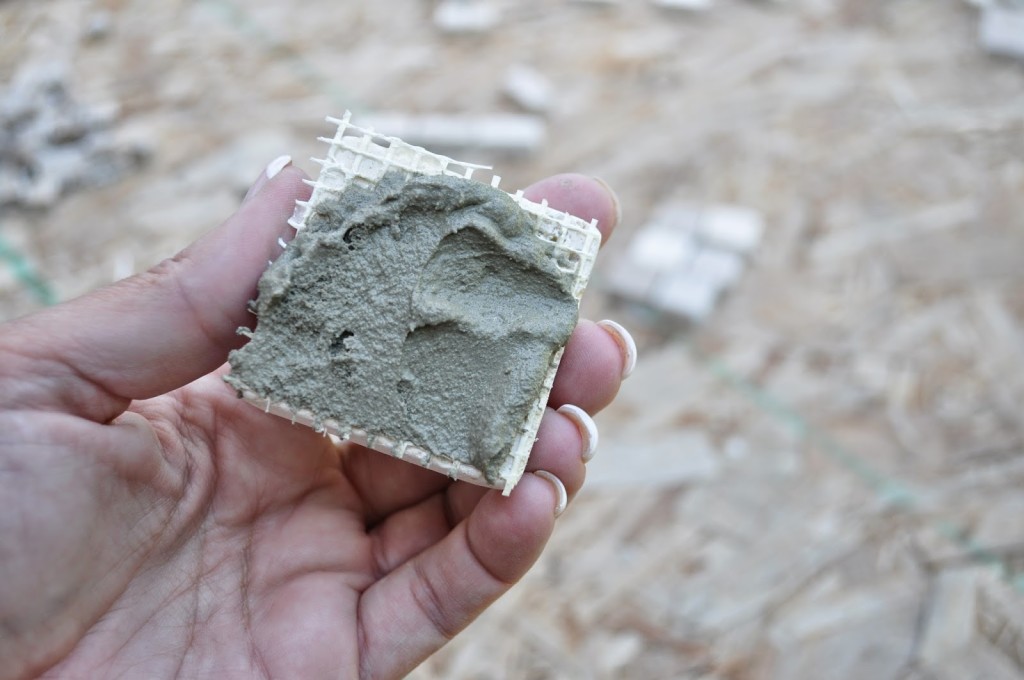
See, lovely buttered tile!
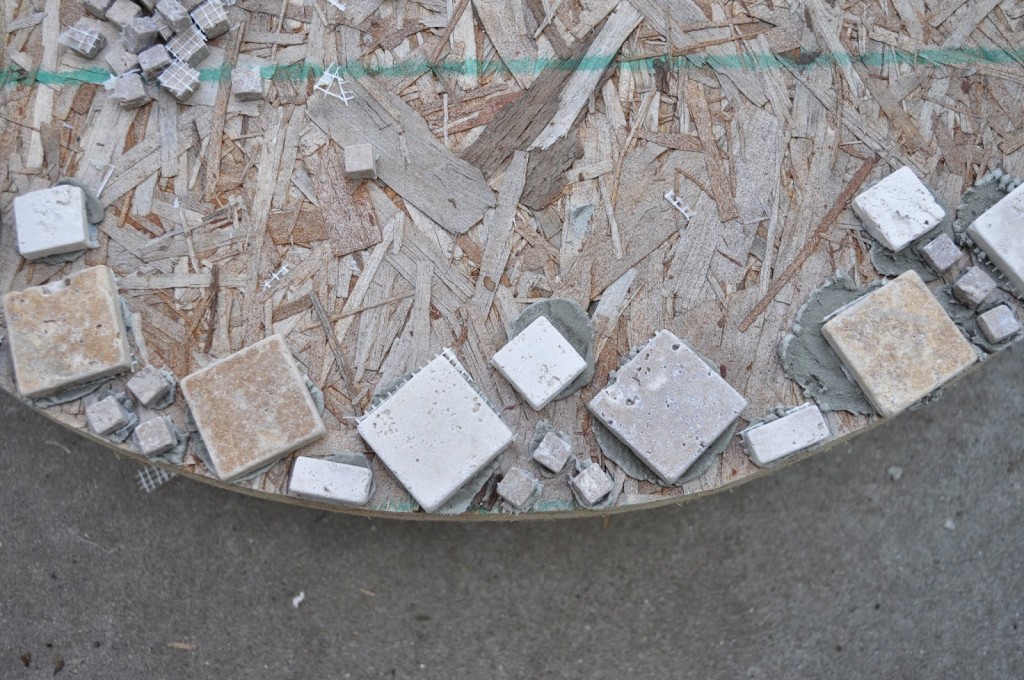
This was my first layout for the edge of the table, but then I decided I didn’t like it.
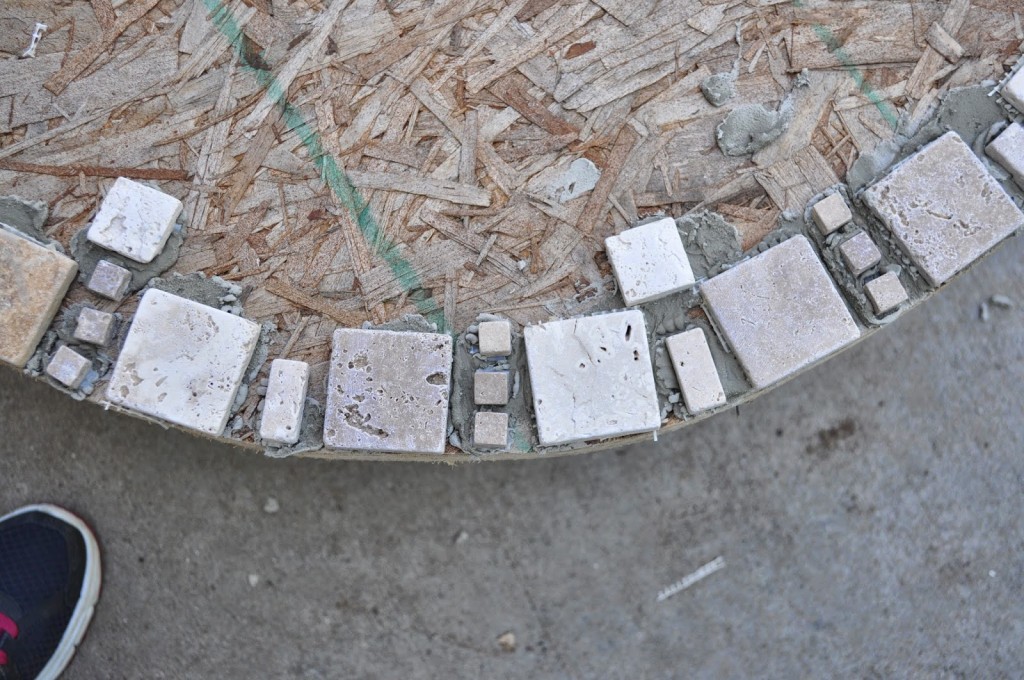
I then decided I liked having more of a finished edge with the tile and changed it up.
So once I completed the edging for my table, I moved towards the inner tile. I had leftover 20×20 tile from a recent rental remodel, so I decided to use them.

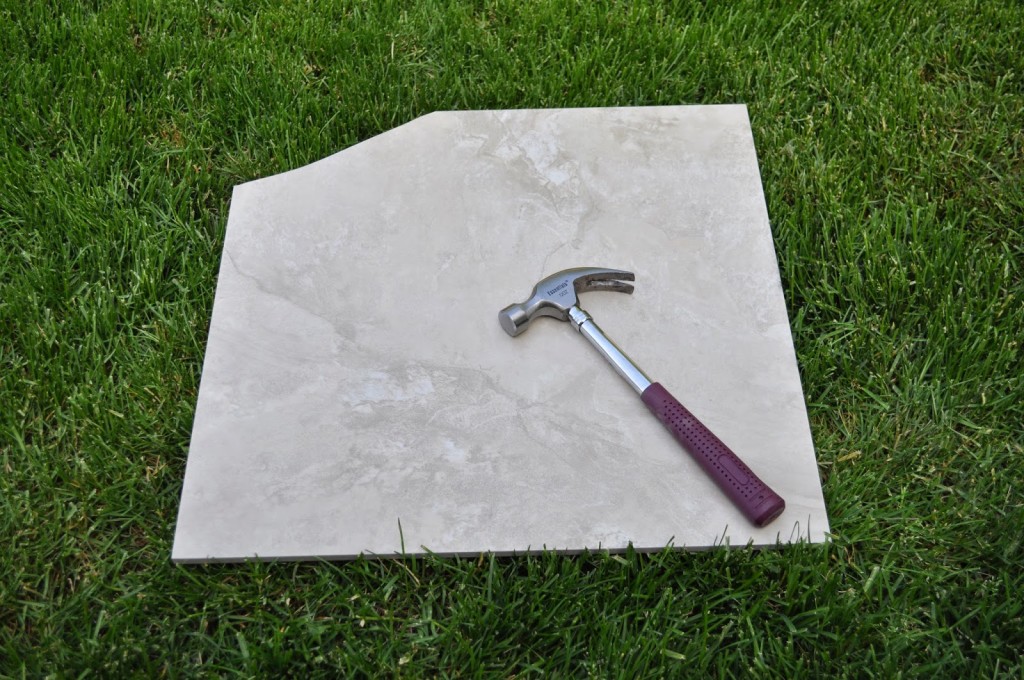
It’s just like you see it here, I took a hammer to the tile and shattered them into smaller pieces. I used two 20×20 tiles, and broke them into manageable pieces for the table. I did this in the grass because I was working out back, but I’d highly recommend a cloth or something underneath so the broken bits of tile stay in one place and it makes it for an easy clean up.
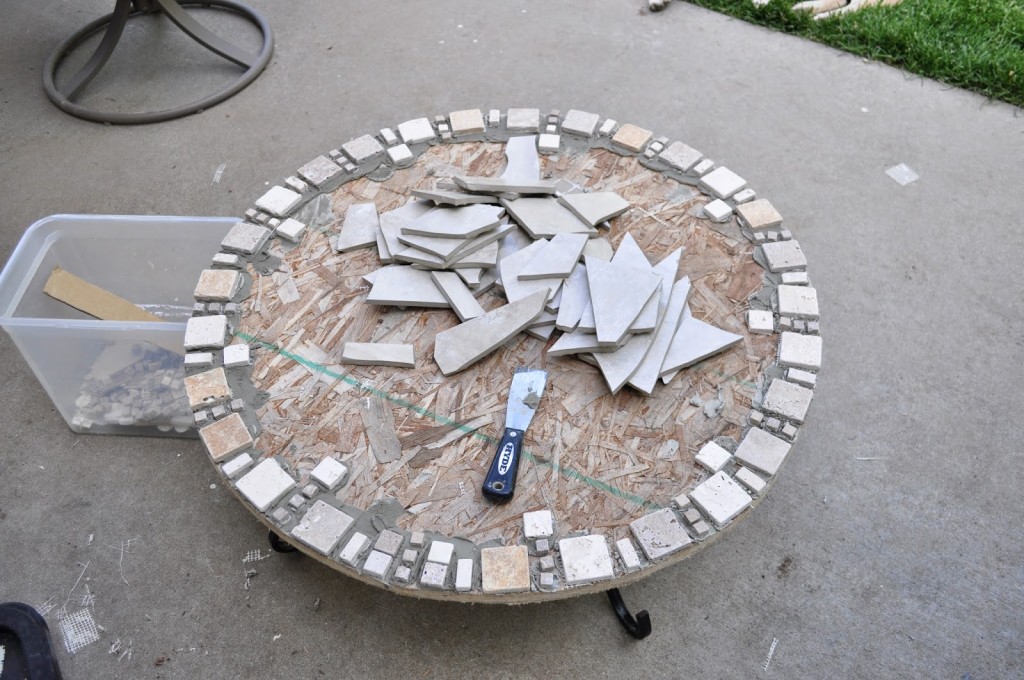
For me it was easier to just dump the broken tiles into the center of the table and then butter each of them before attaching them to the wooden surface. It’s like a giant puzzle, you’ve just got to play around with it till they fit together. If you need smaller pieces, hammer away.
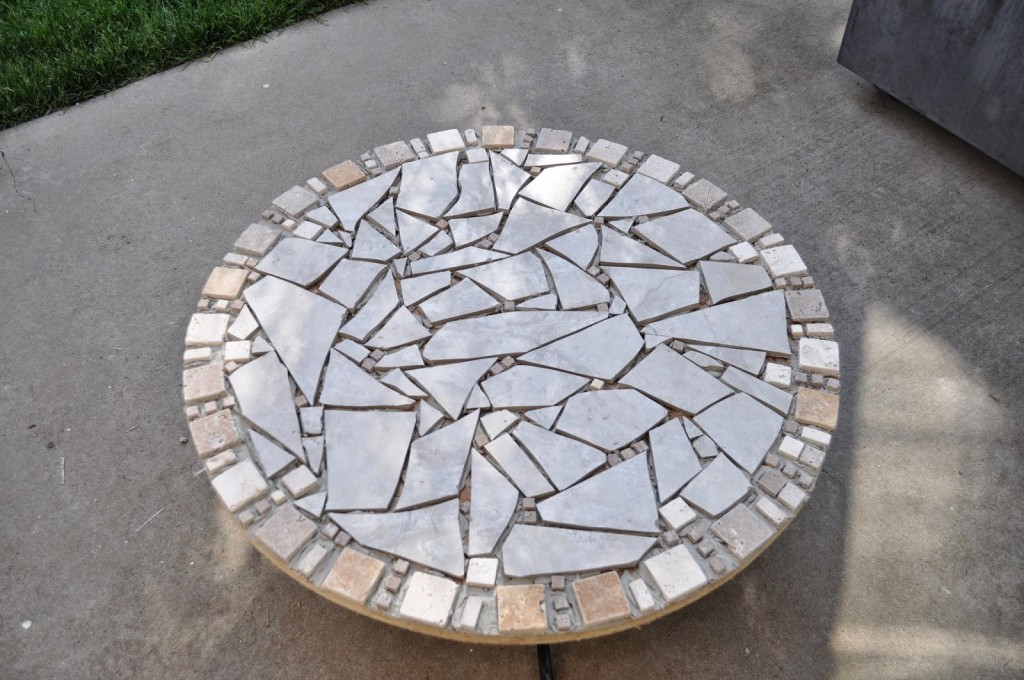
Here’s the semi finished project. All the tiles have been attached, and then I went back and added smaller pieces into the spaces where I thought there was too much of a gap. I let it dry overnight before moving onto the next step.
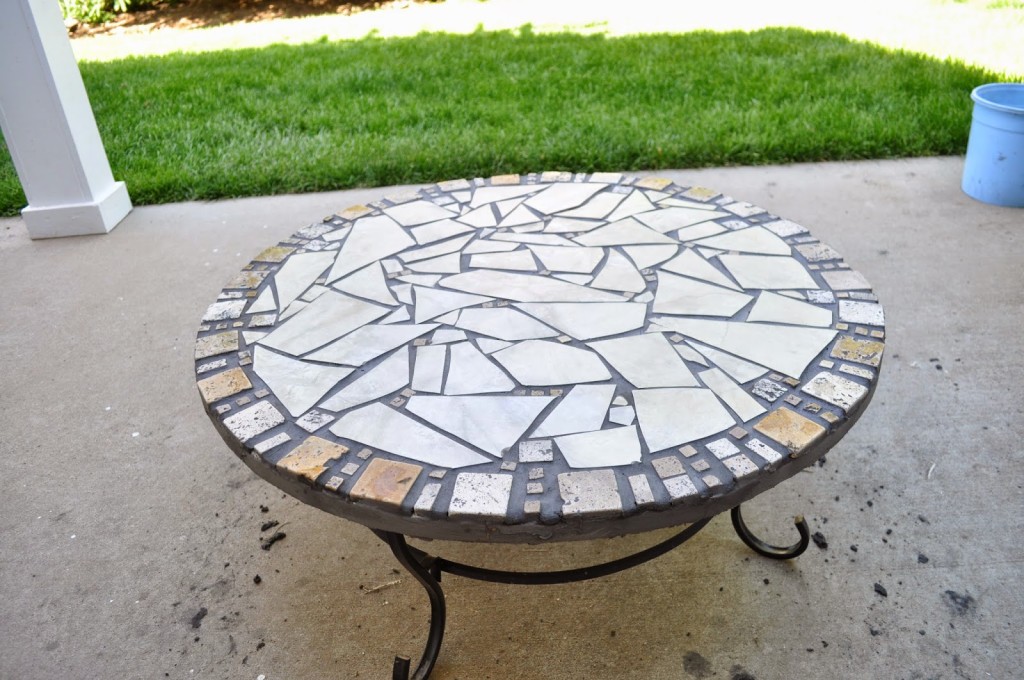
Sorry, but I don’t have the pictures of me grouting. But it’s similar to the mortaring process. You mix the grout to the manufactures directions, making it a peanut butter consistency. You then use your float to add it to the top of the tile and press it into the crevices. Once you’ve finished adding the grout, you’ll then wipe off the excess using a tile sponge. I used black grout because I had it on hand, and it was a bit more work to remove the excess grout from the top of the tiles. You just have to keep changing out your water and rinsing your sponge.
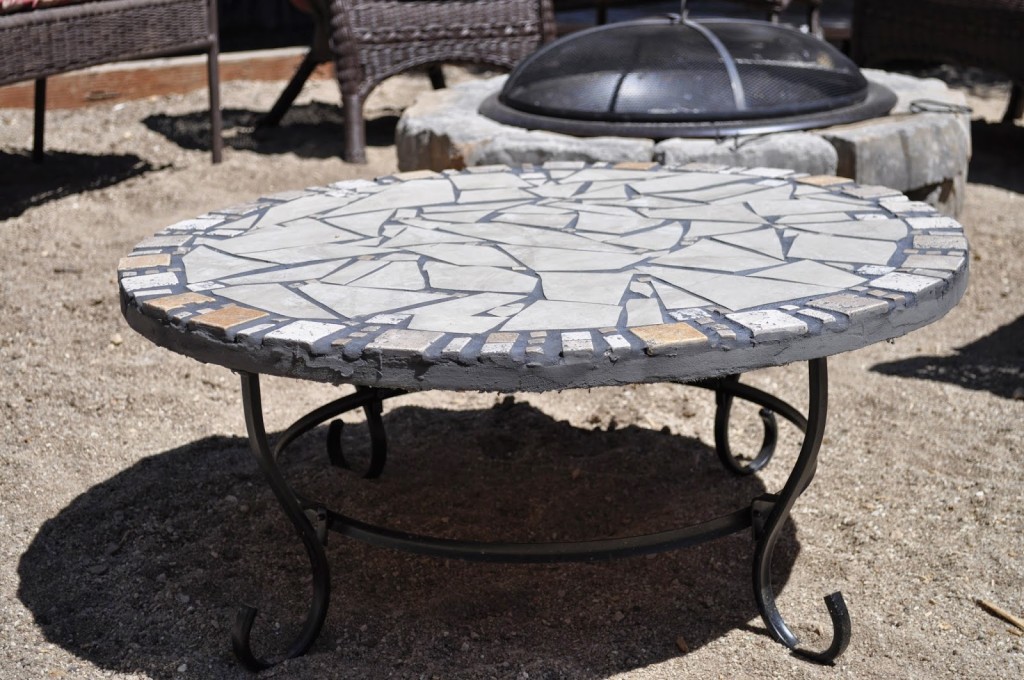
So here’s the finished table, ready to be used for many years down the road.
Easy peasy!