

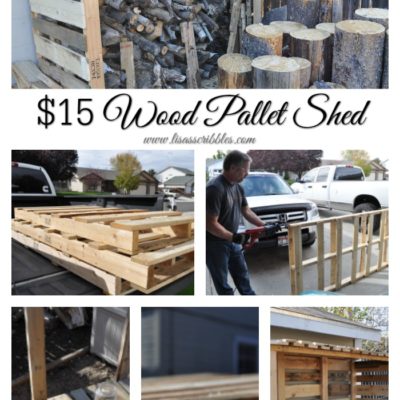
 A few weeks ago I started compiling projects that I wanted to do for Christmas. I perused Pinterest and got some ideas. My dilemma was that I had a ton of extra wood material left over from the Pergola/deck remodel from this past summer, wood that I didn’t want to go to waste mostly because it had already aged itself properly.
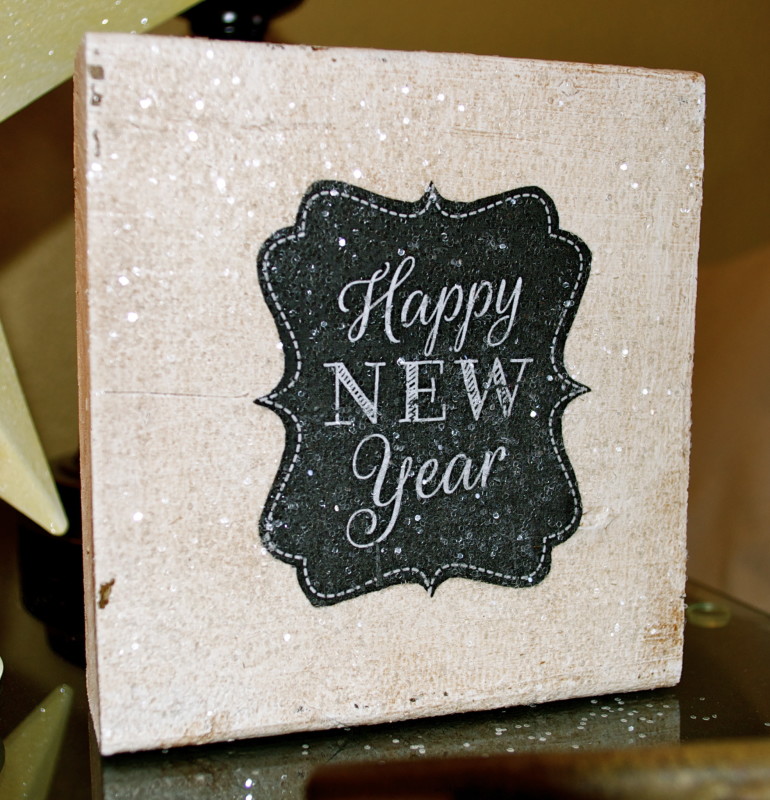
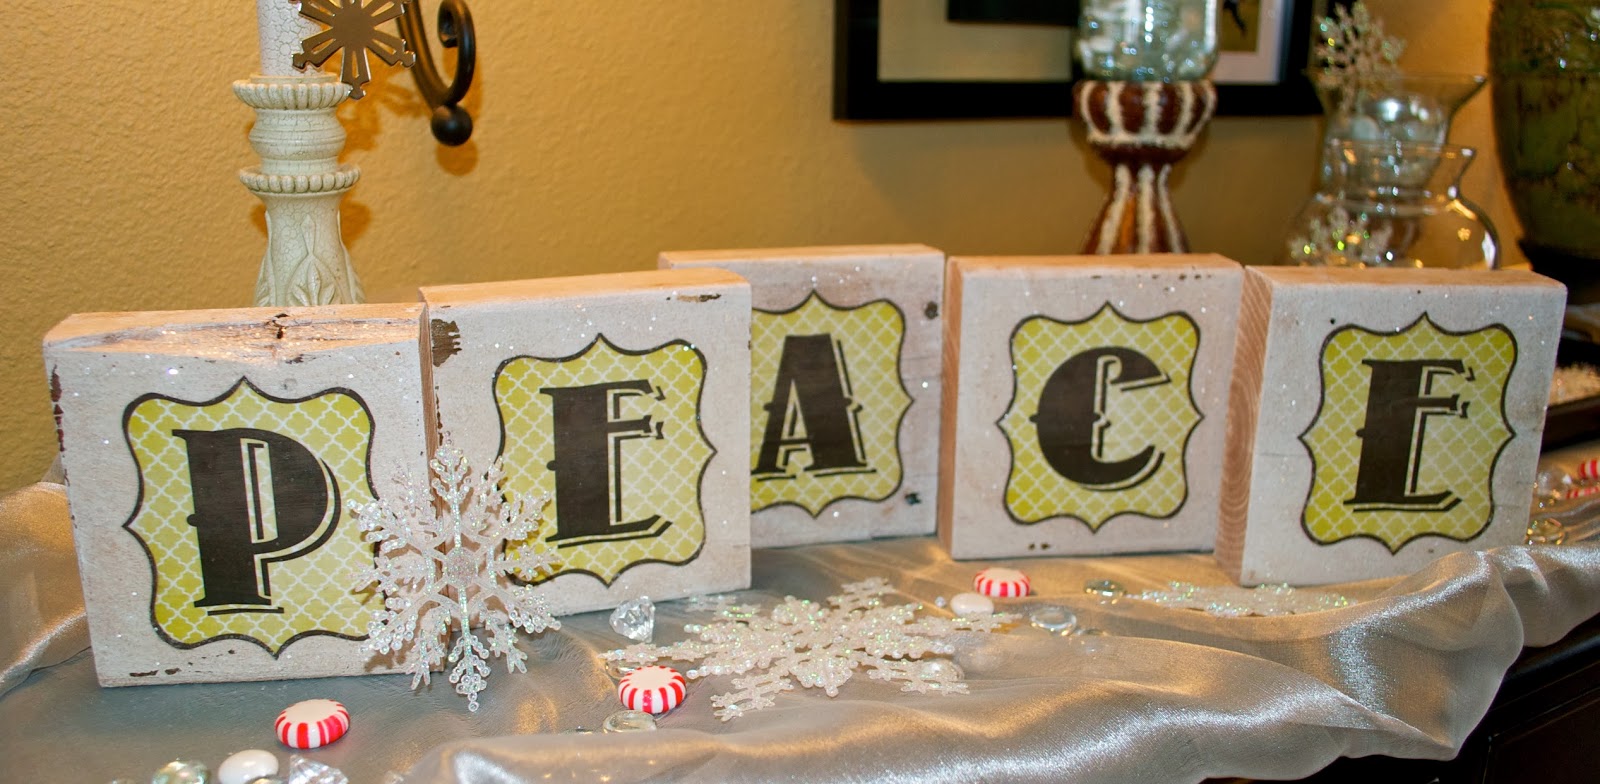
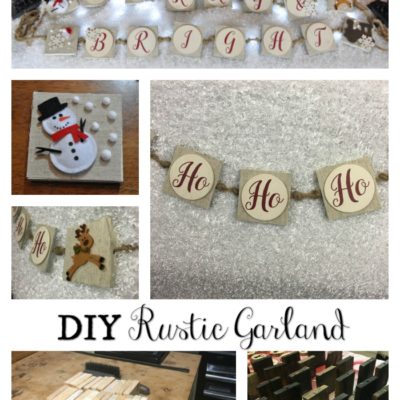
First I took this pin of DIY block letters and ran with it on my own terms, as always. I cut the wood to my dimensions (started with a 4x6x12 piece of lumber), painted them with a coat of white paint, aged them using a mixture of brown paint and water (then wiped it off), and finally went in search of some printable letters. DIY Swank was great, and when I printed my letters, I converted the file to PDF and printed at 50% of the original size. I did a few test runs first to make sure they’d fit the size blocks I’d cut. I then cut them out of the paper (with the hubby’s help) and used Mod Podge (matte finish) to adhere them to the blocks. I did a few coats to make sure they stayed on well. Then I got the fun idea of adding “sparkles” to the blocks too! I loved how they turned out.
 |
| Glenn was a huge help cutting the wood. |
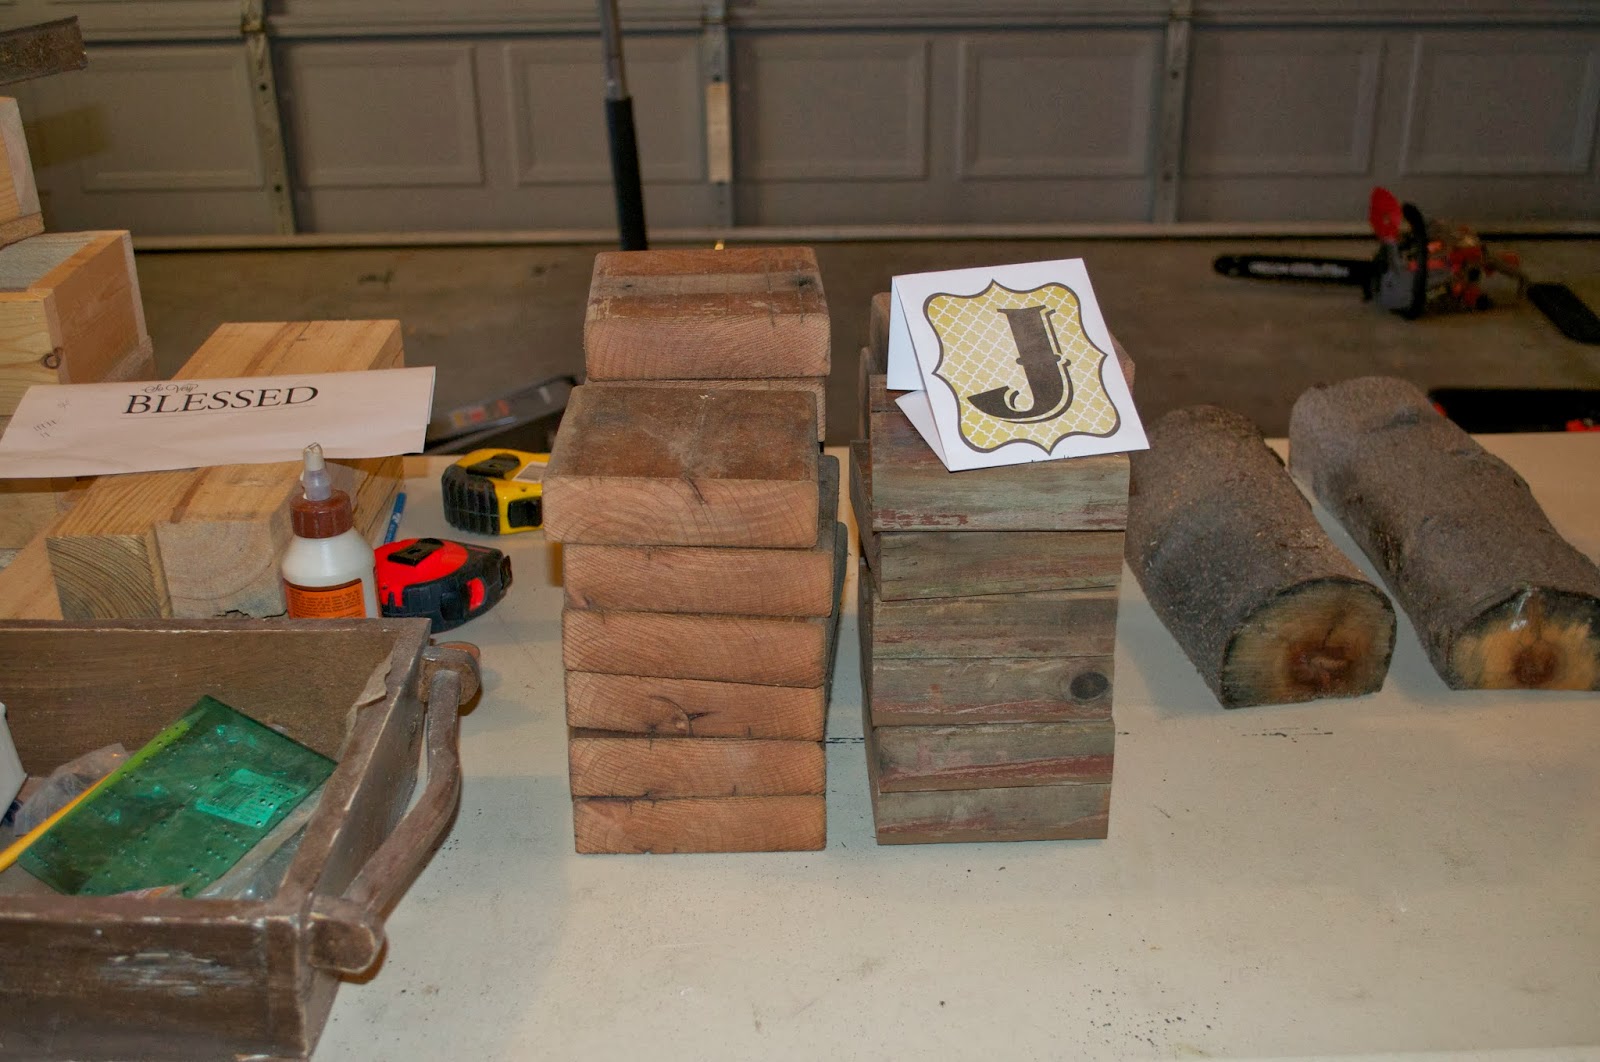 |
| My letter blocks all cut to size. |
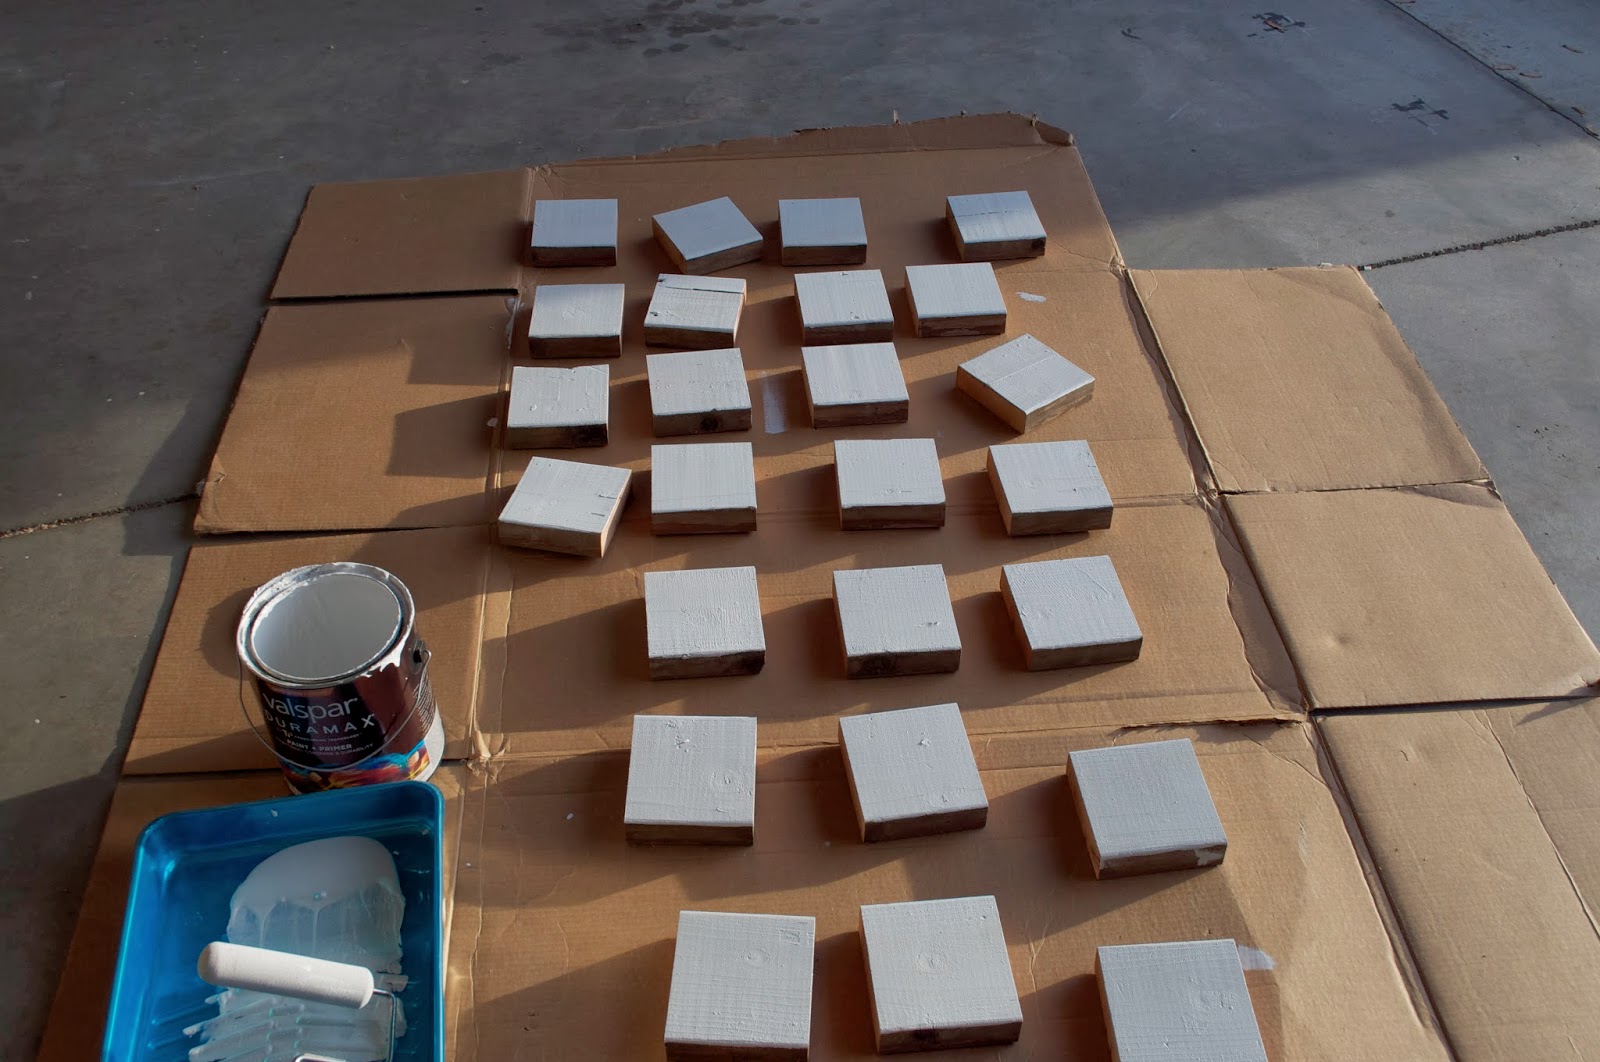 |
| Added a coat of white paint to them first before I aged them. |
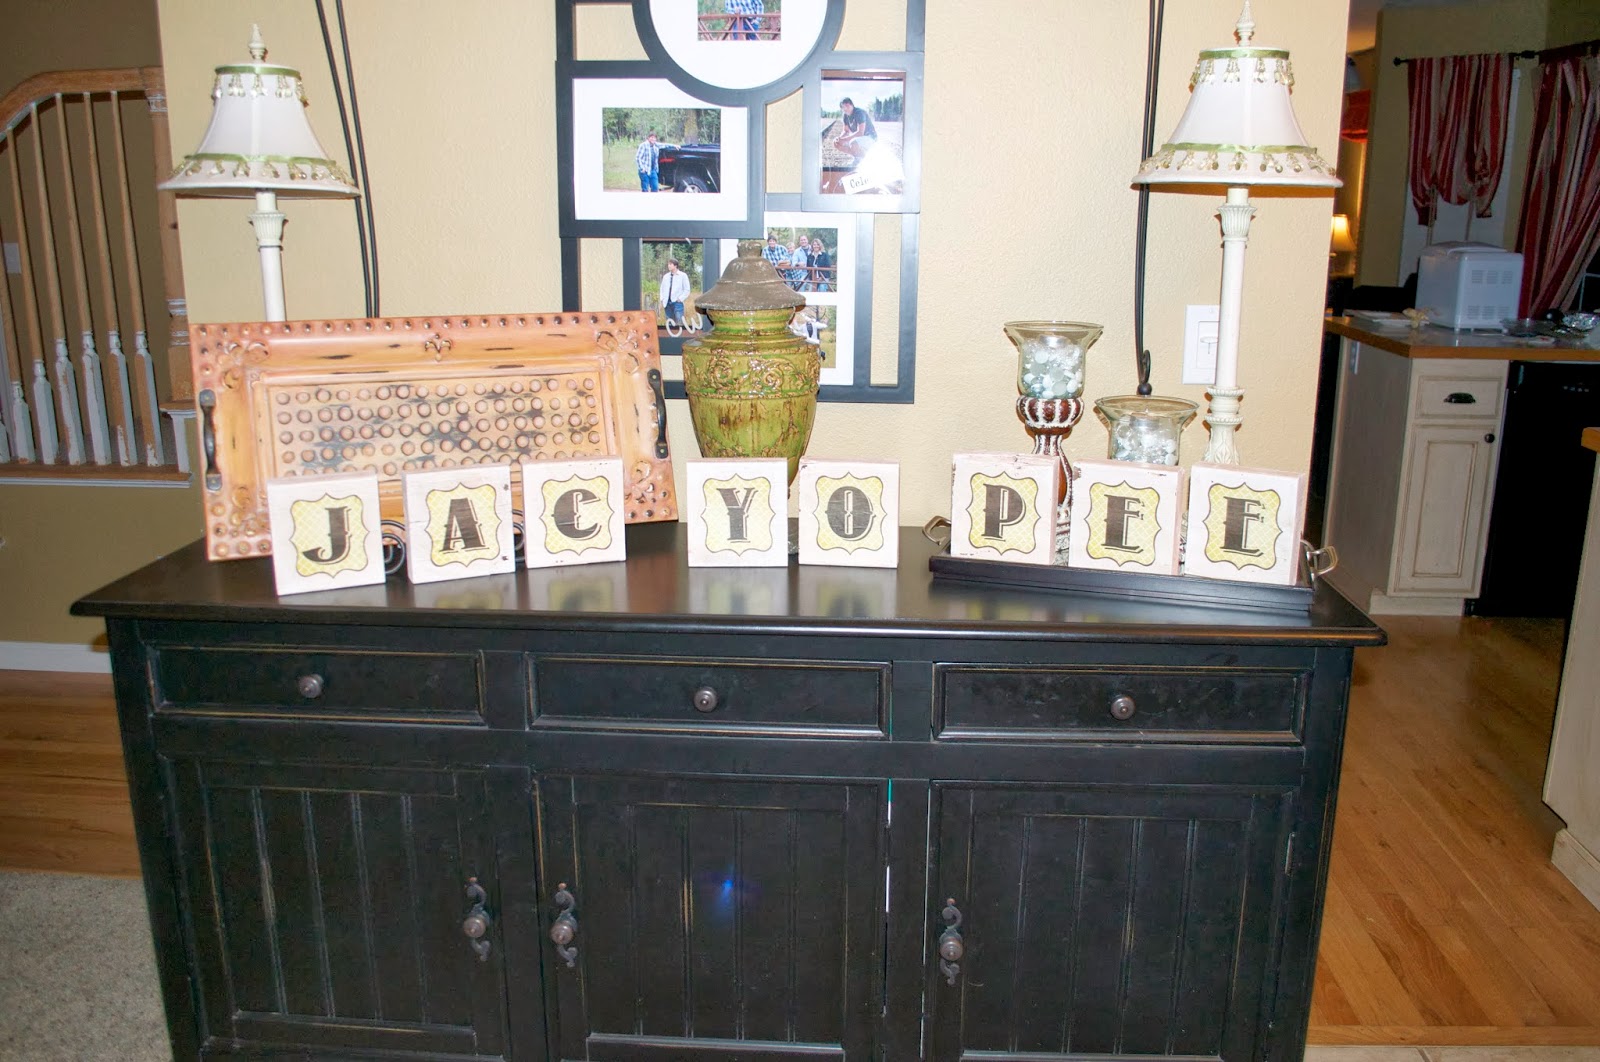 |
| I had set the letters out to see where I wanted to place them. When I came back, here’s what I found…boys! |
 |
| I think the sparkles make all the difference. |


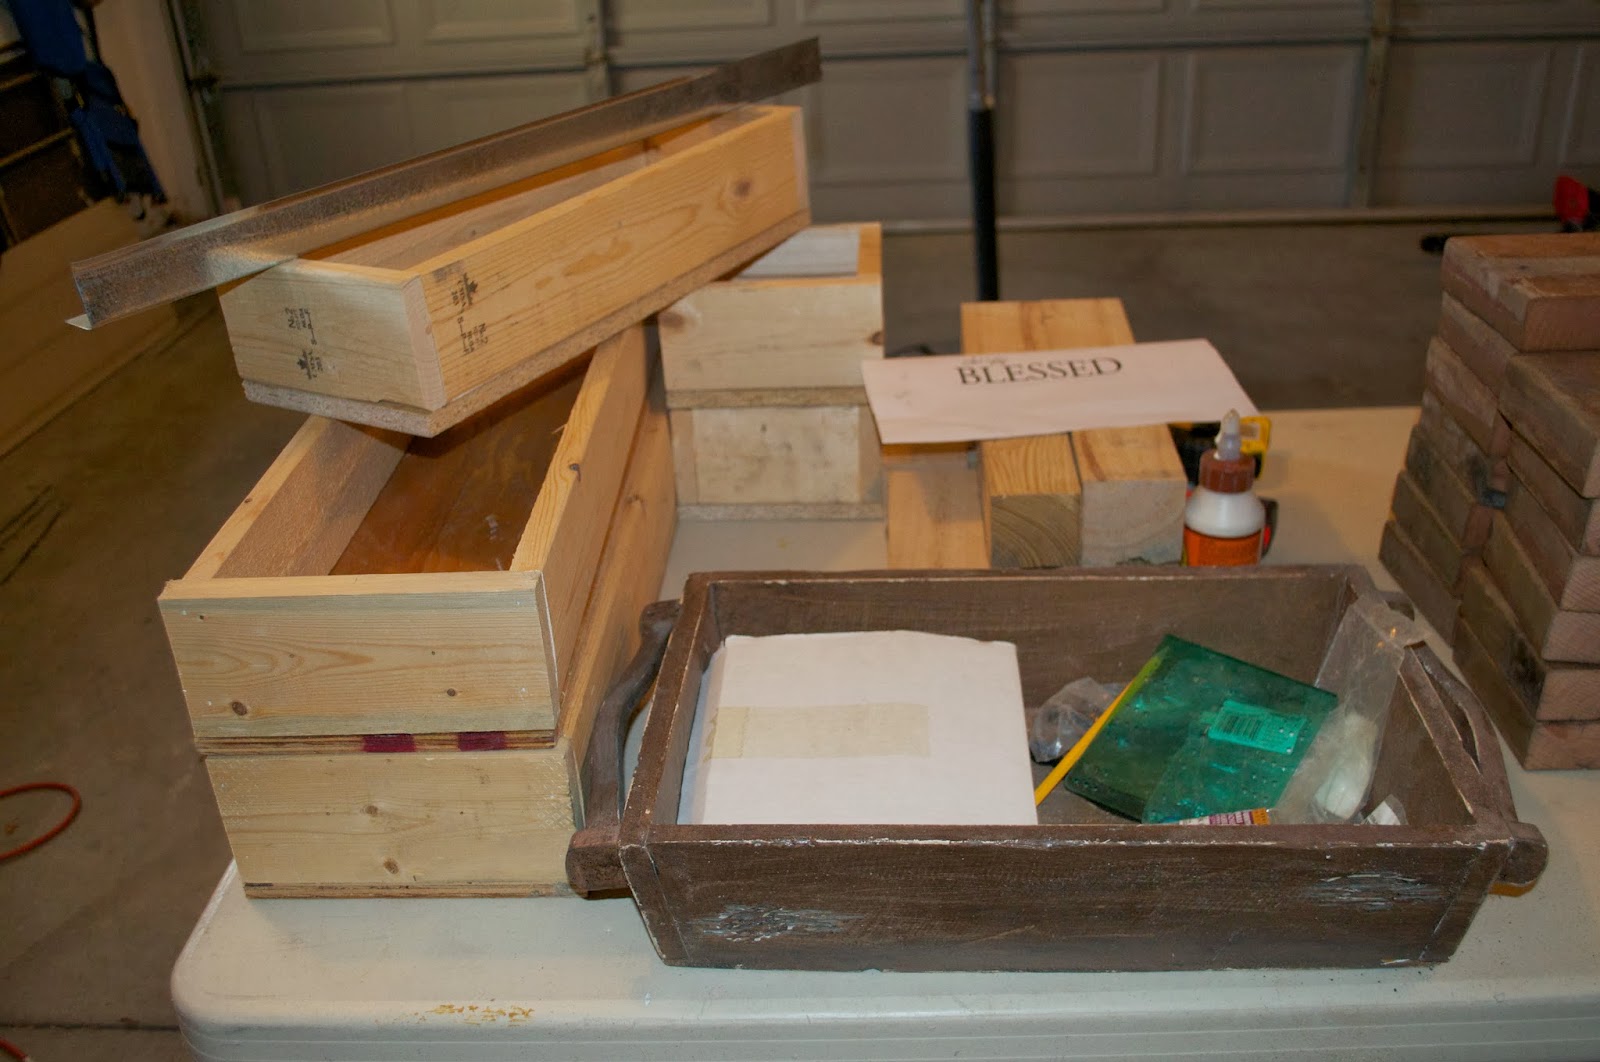
Another idea came from some wooden planter boxes I’d seen posted on Pinterest. Now while I didn’t need any planters, I did come up with the idea to create some wooden trays that could be used year round either inside or out for decor. I used a wood tray I already had as inspiration as well. And since my mom’s birthday was right before Thanksgiving, I made her a few as well.
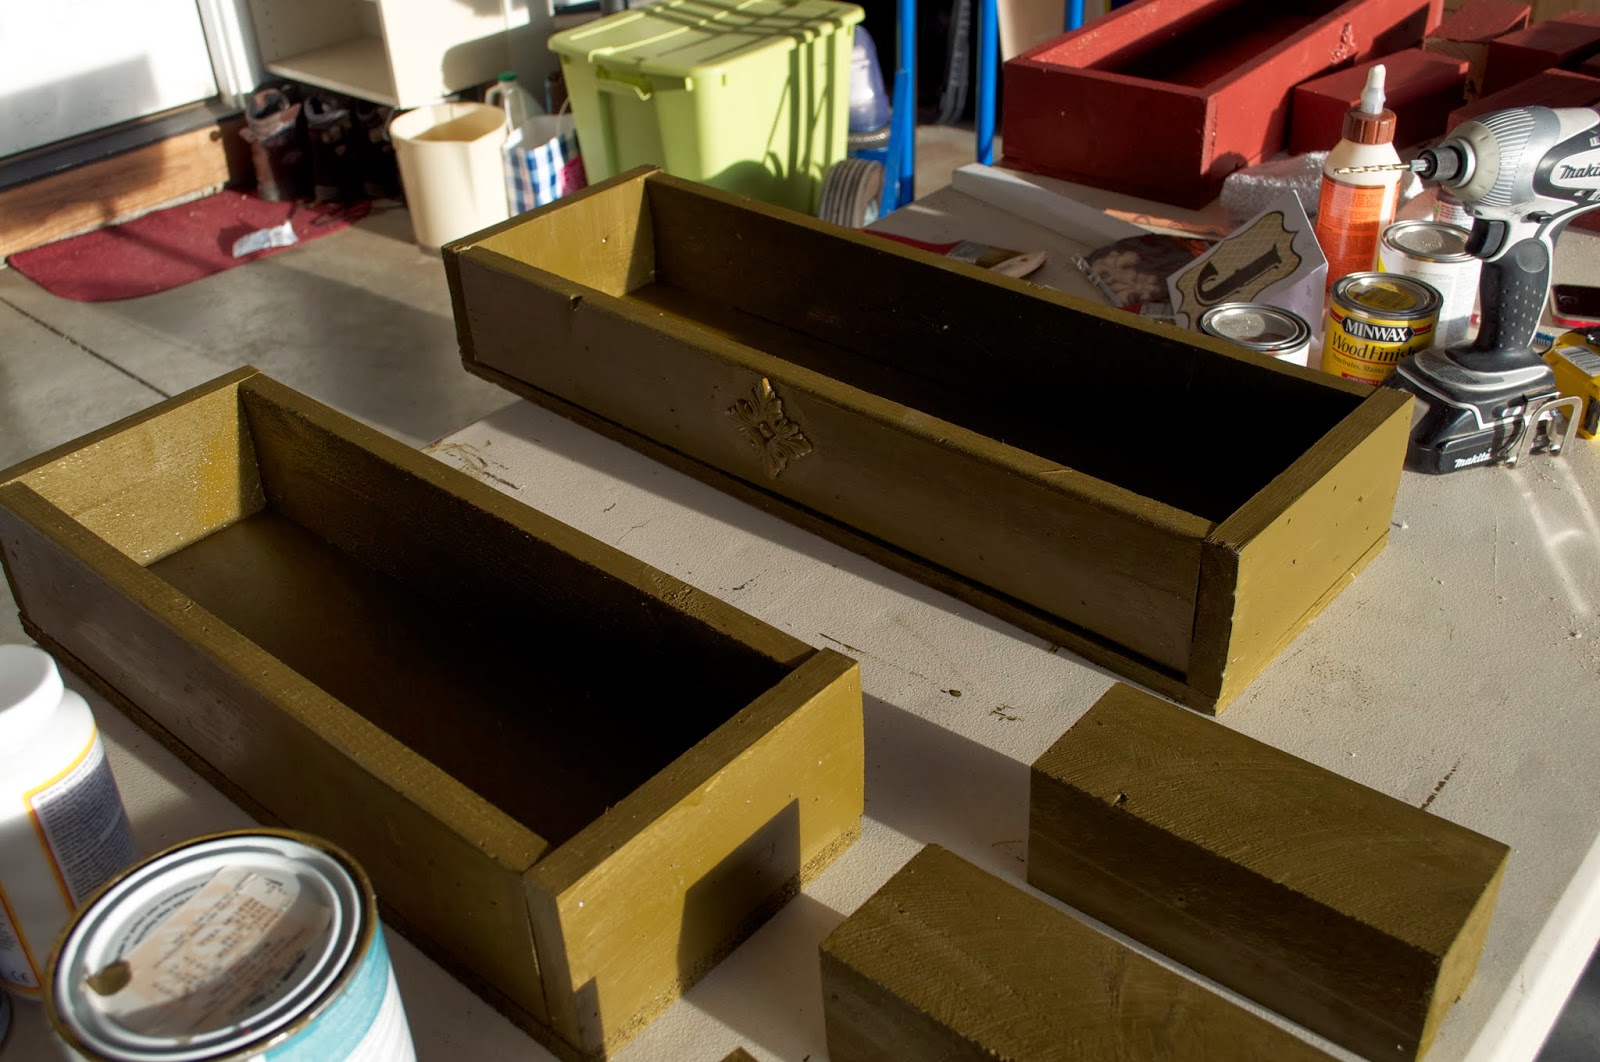 |
| This was the first coat of paint before I aged them and added handles. |
 |
| My mom took the red set. |


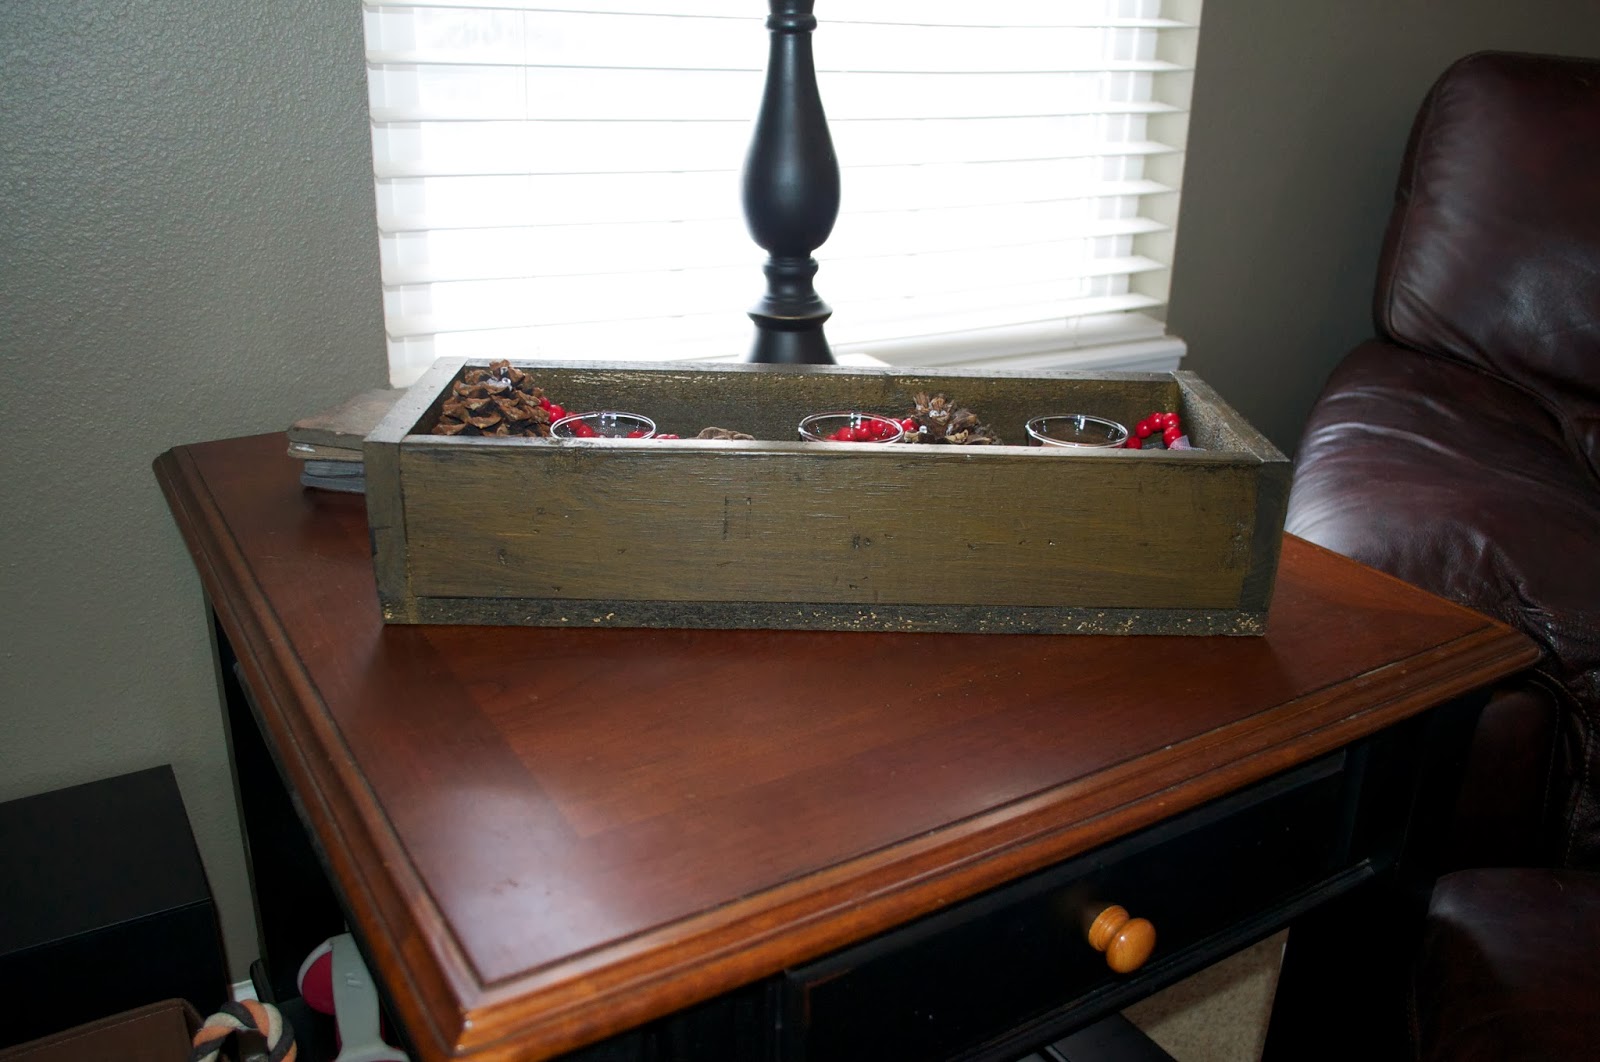 |
| This additional tray is smaller than the first and doesn’t have metal handles, only because I didn’t have any lying around. |
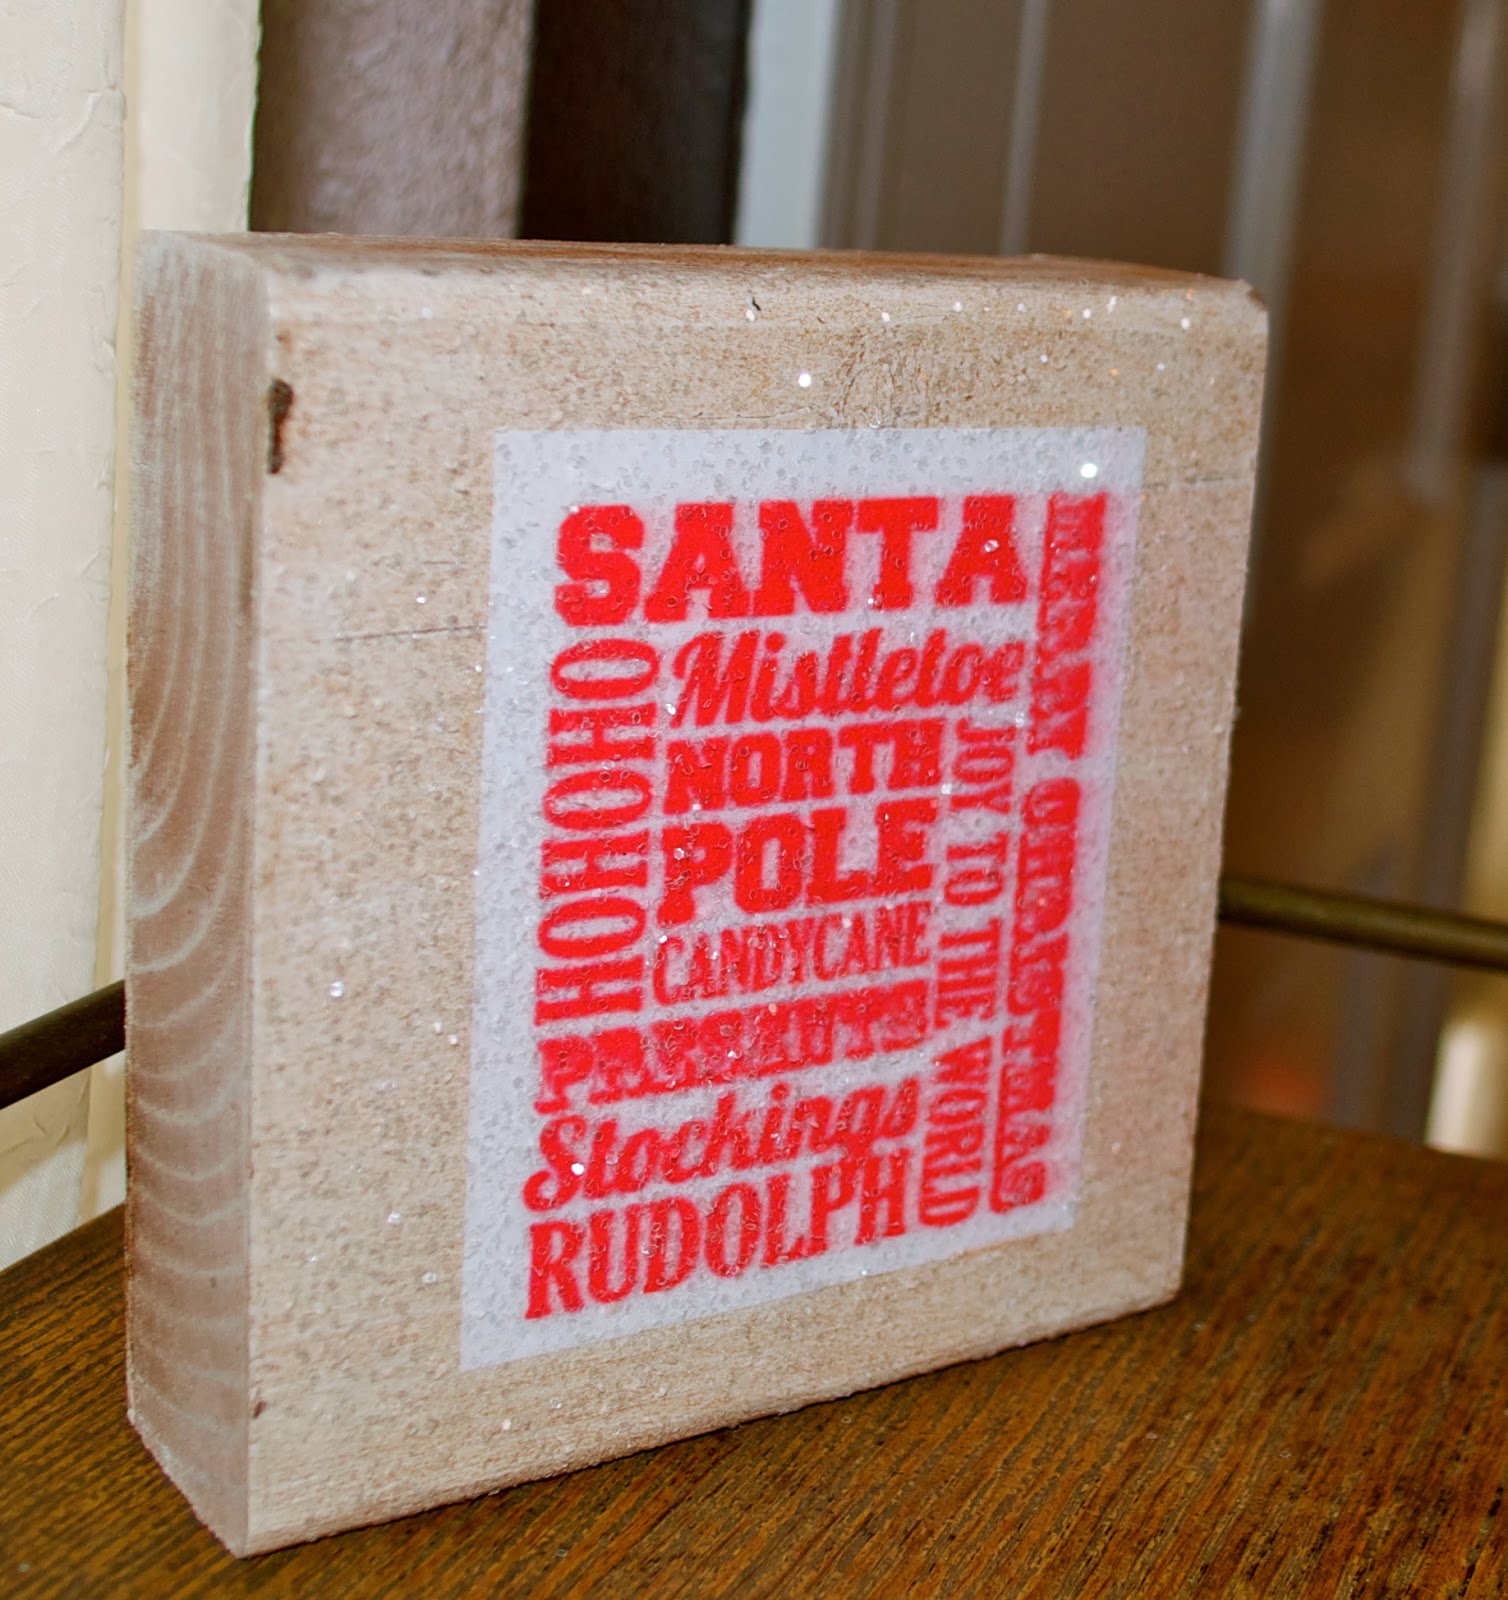
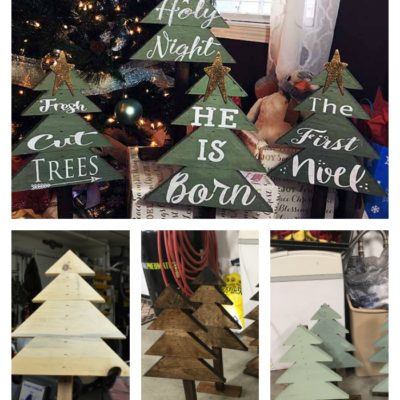
So the final project from leftover wood I had was making wooden picture holders. Again, I got the idea from Pinterest, from Shanty 2 Chic. They used 2×6 lumber, but I chose to use leftover pallet posts (2.5 x 2.5) from a recent remodel at my parents house. You could also use a 4×4 post for added depth. Again I took their printable’s and reduced them to fit my project. I painted them red and green, then antiqued them with black paint. I used upholstery tacs to hold the wording phrases in place, and curly ornament hooks to hold the pictures.


Now, with all this work done I didn’t spend more than $7.00 for additional materials (Mod Podge and some curly ornament hooks). I used up some wood from my pile, printed on paper I already had, and painted with paint in the cupboard. I think all in all they turned out pretty nicely. Even Glenn said that they turned out better than he had thought they would…gotta love the non-visionaries!
These are all lovely!!! I especially love the sparkles!!!
1 Comment