

I’ve been on a roll this week with making wood signs, let me rephrase that, custom wood signs for my family and friends that fit some of them to a tee. You’ve seen them, they’re all over Pinterest, knock-offs from Pottery Barn, Pier One and the likes, plus original creations with a little twist like my friend, Judy does over at Vintage Street Designs. She’s got a store on Etsy and sells them at a reasonable price too! I’m not up for selling mine, just wanted to make them for Christmas and do a number of other projects around the house. I was able to score my Cameo Silhouette for an awesome Cyber Monday deal.
So this post, it’s not really a “how to” kinda post, it’s more like this is what you can do if you have a vinyl cutting machine–the creativity is limitless!
As I mentioned, I scored my Cameo Silhouette on Amazon for an amazing Cyber Monday deal, and to my surprise, they’re still offering it as I’m posting. You can click here to check it out: Cameo Silhouette on Amazon.
Here’s what I got:
It’s an awesome starter kit that also contained a $25 credit to the Silhouette store, which I used every penny of it up! It gave me enough sample materials to complete a few projects and get the hang of things, but believe me I’m still learning.
To start off with I dug through my supply of scrap materials of wood, some of it from pallets and others from the remodels I’d completed, and put together signs all various shapes and sizes.
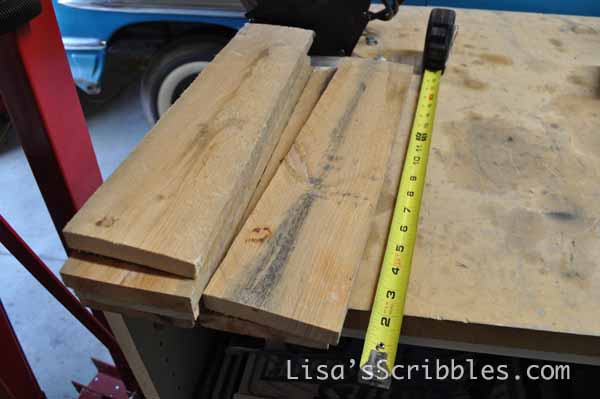
I first measure the length and cut 3 pieces of pallet wood.
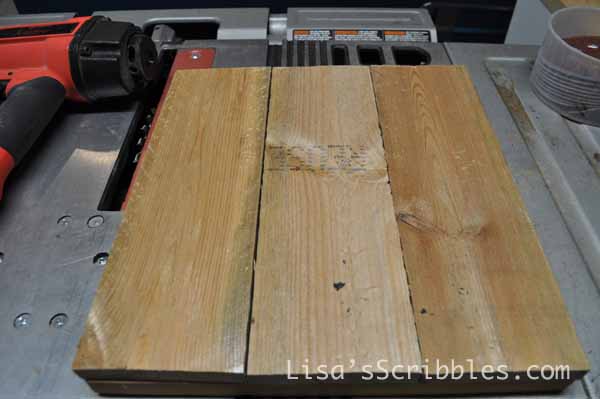
I laid them out all nice and neatly in a row.
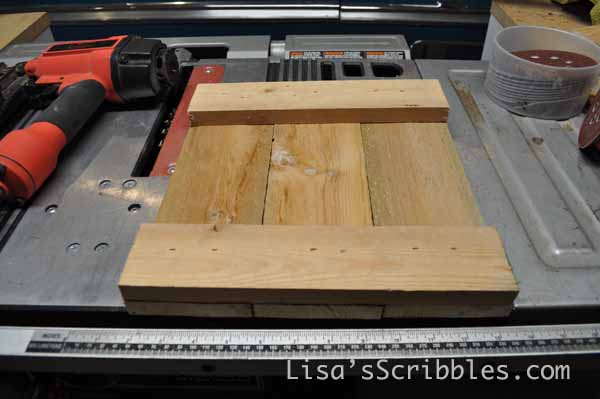
Then I used my nailer to add support strips on the top and bottom.
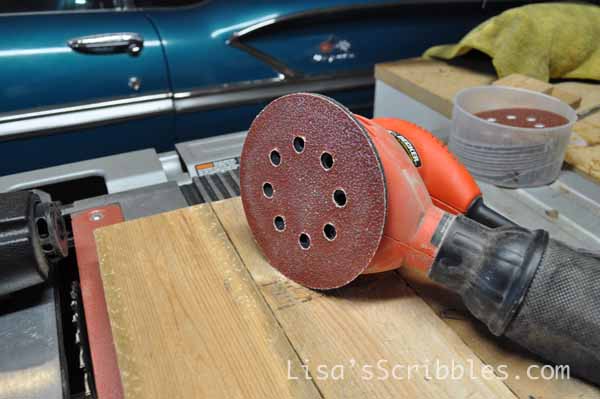
Then I took my sander and smoothed out the surface to try and make it as smooth as possible.
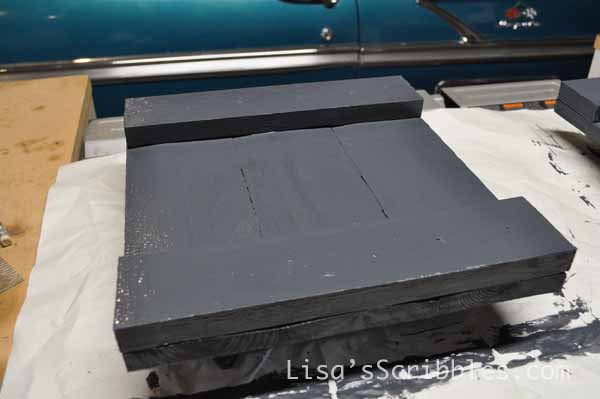
I then added a coat of paint in the color of my choice and let it dry.
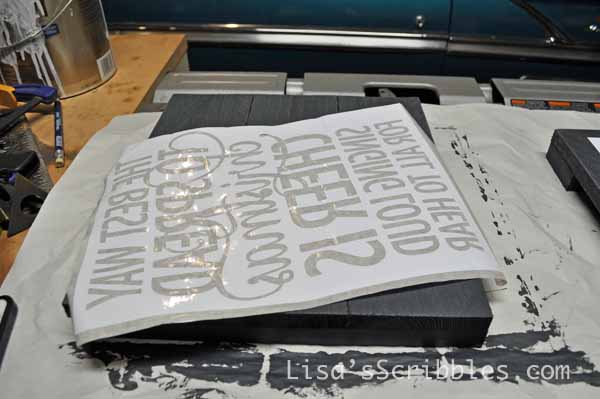
I then used my Cameo and cut out the design onto the vinyl. I pulled off the letters, which left me with a stencil and then applied the application tape. You need this to transfer your stencil to your surface, it’s just too flimsy otherwise.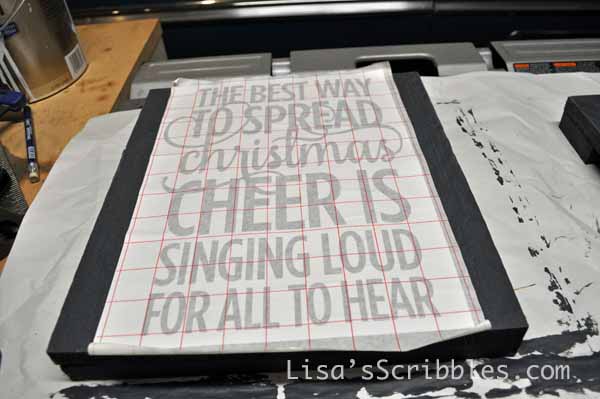
I then aligned it and used my spreader to push it onto the surface.
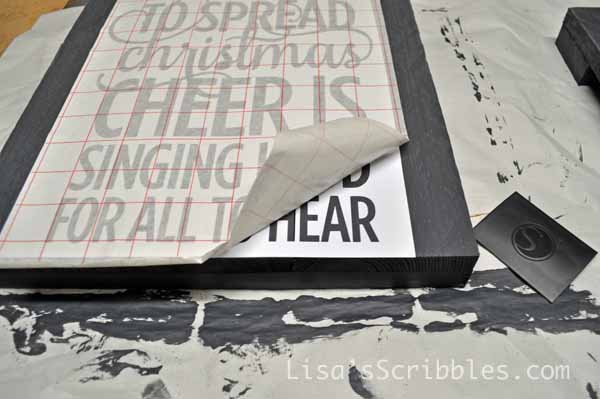
The fun then begins as you pull the application tape off. I found that sometimes the vinyl stuck really well to the surface, and other times not so much. So take care when you peel it off, go slow so you don’t tear the vinyl in the process.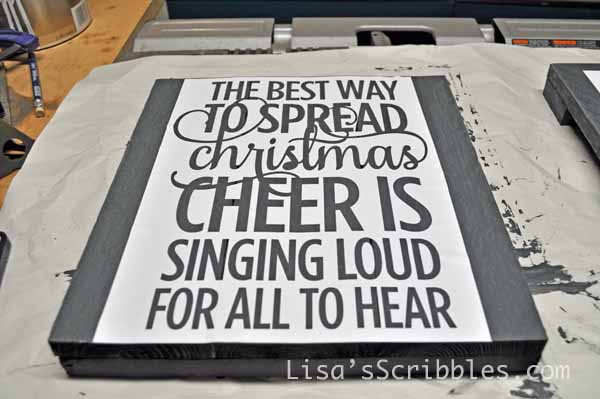
This is what you’re left with, a beautiful stencil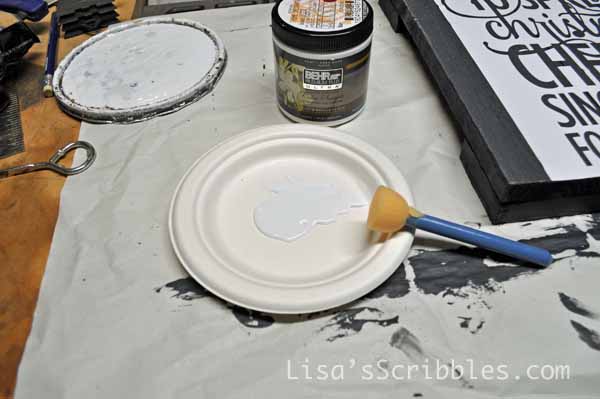
I used a stencil brush and dabbed it onto the surface.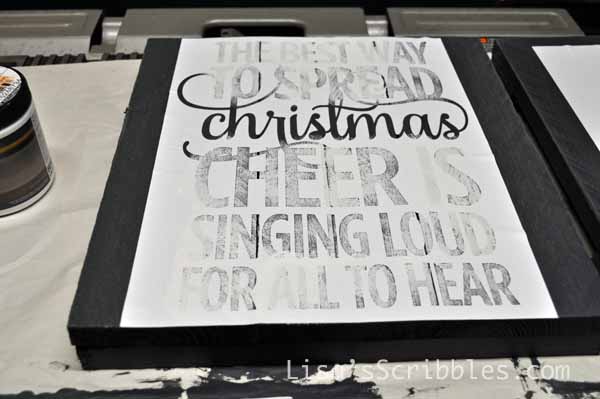
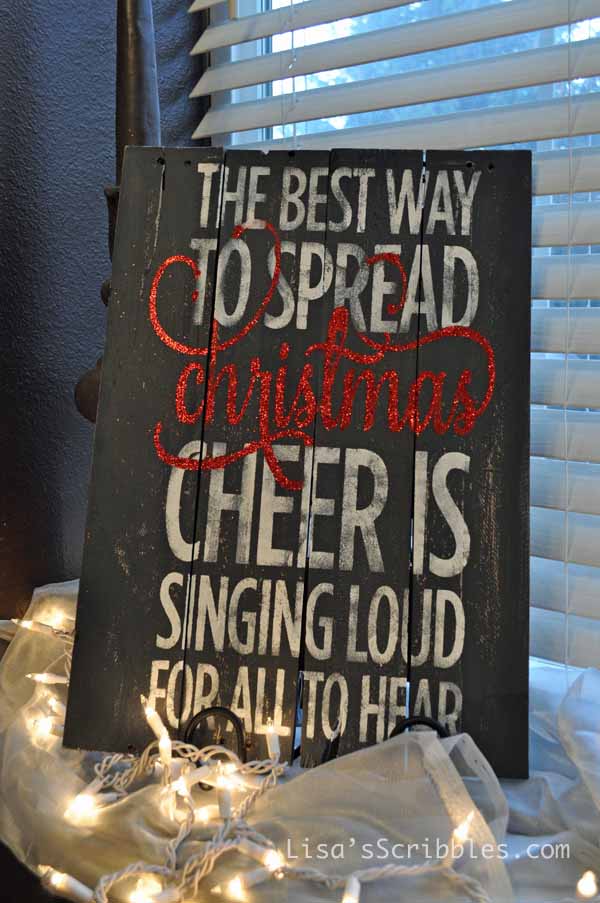
I also choose to mix mine up a little and stenciled “Christmas” in red paint and then added glitter.
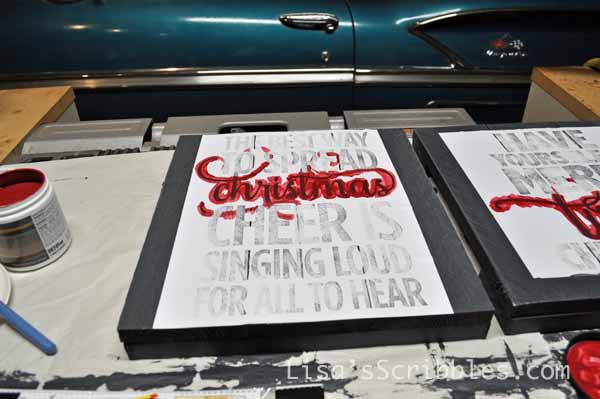
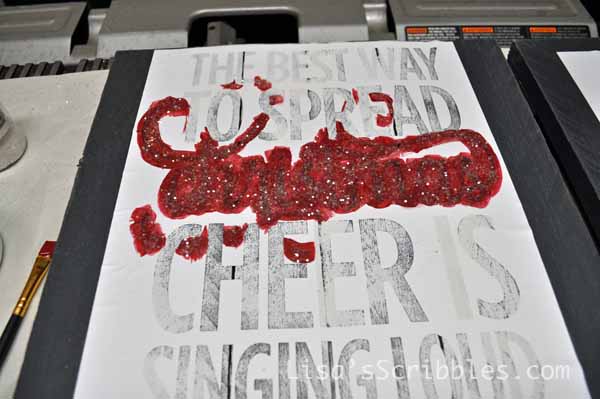
Yup, a little glitter goes a long ways!
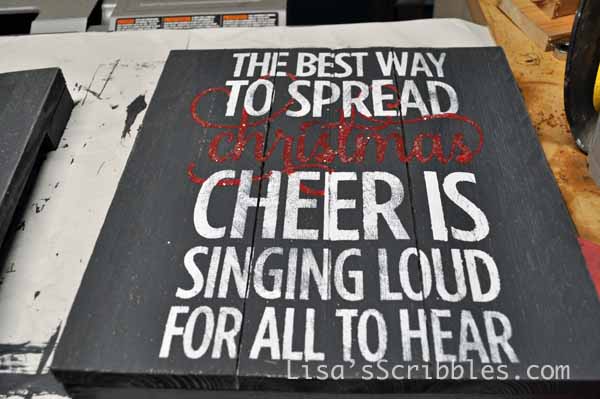
After the paint was dry, I peeled off the vinyl and here’s what I was left with. Pretty cute, right?
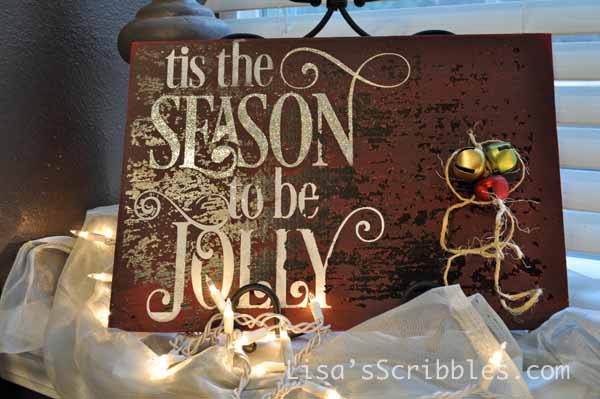
I got on a roll and the designs kept flowing!
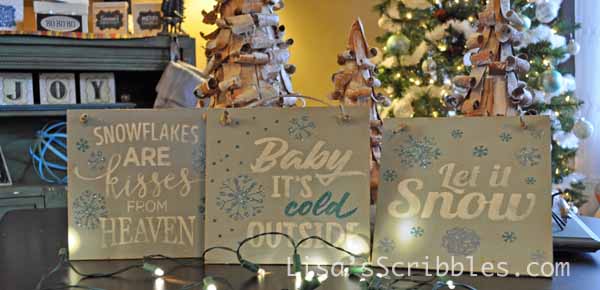
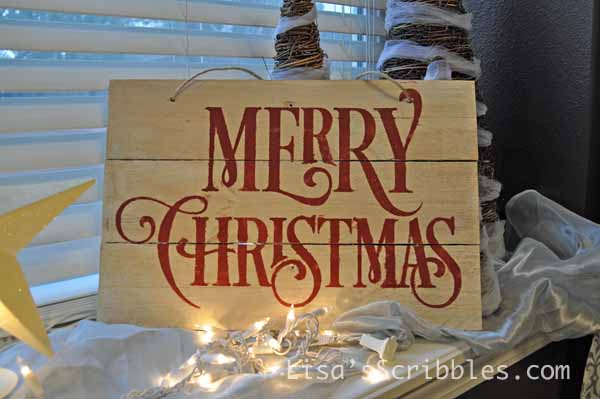
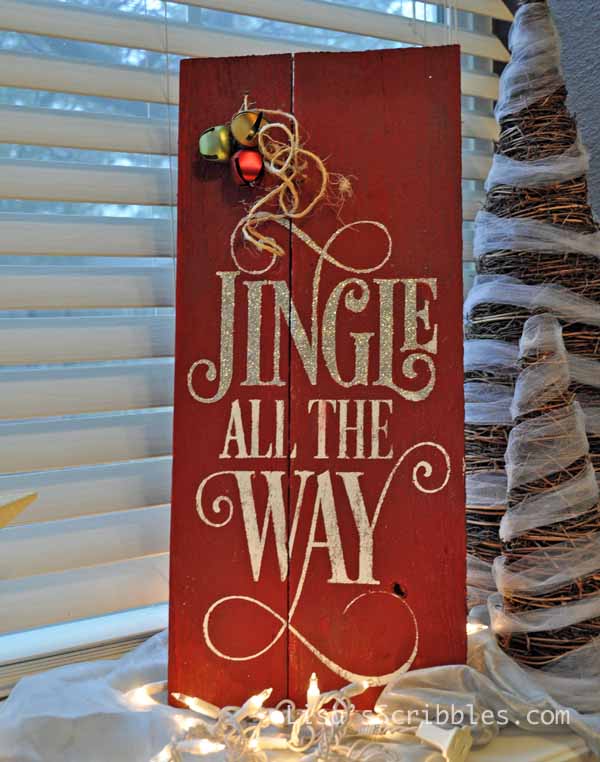
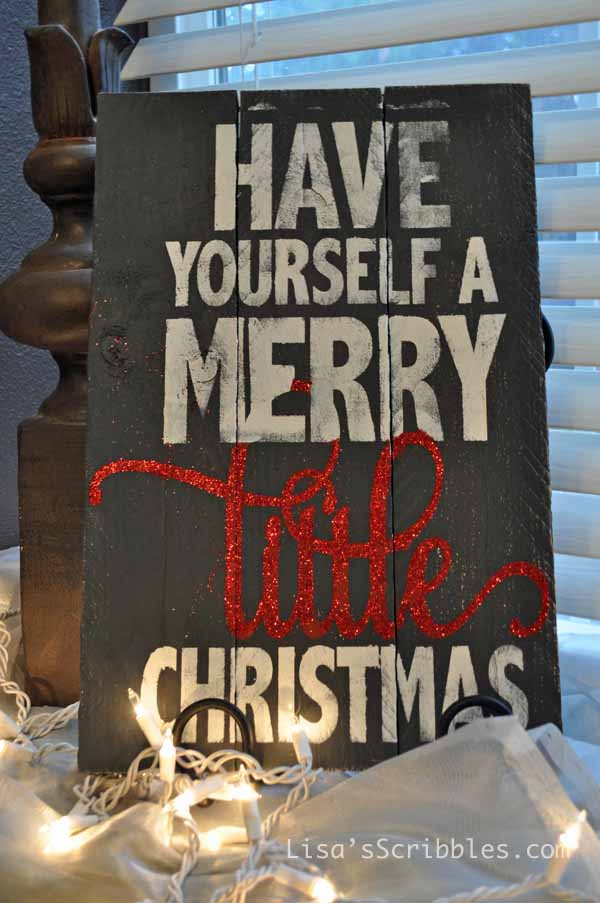
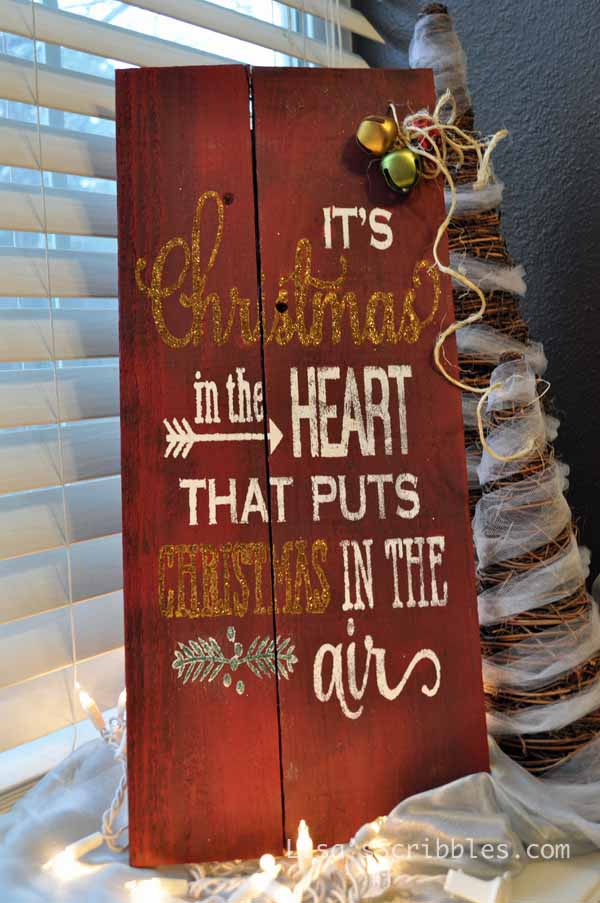
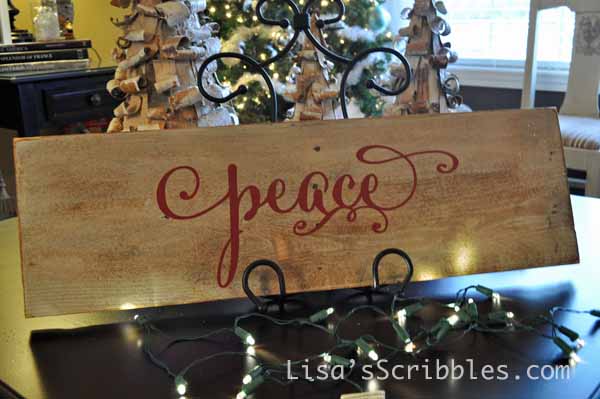
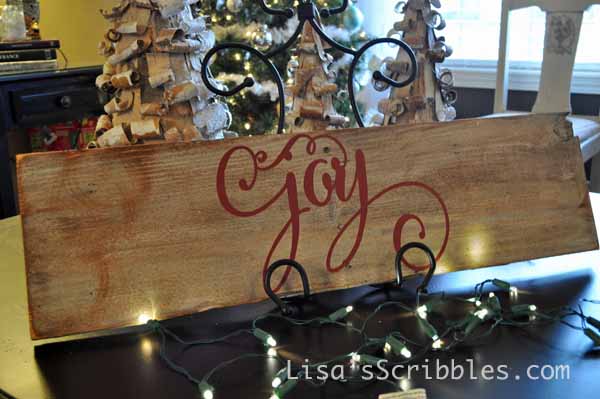
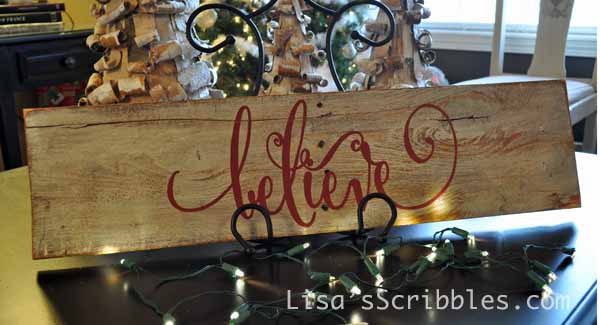
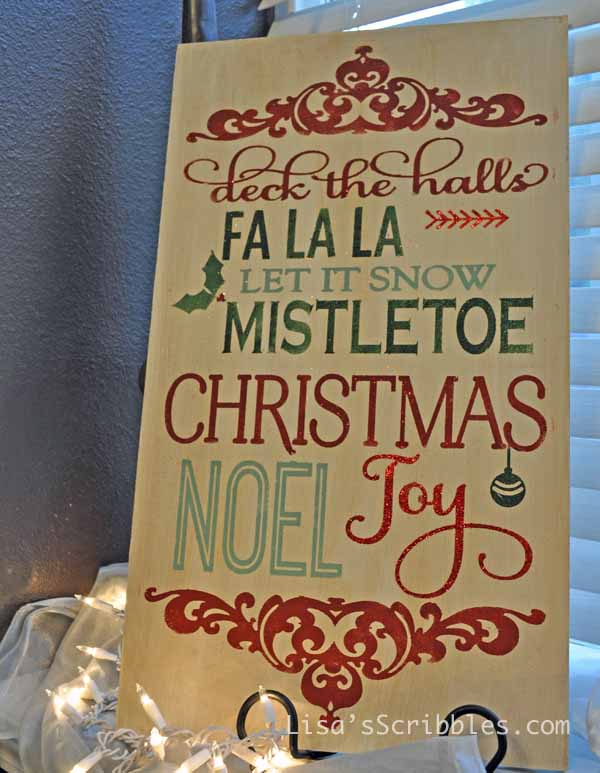
So again, if you’re family or friends and reading this, act surprised when you receive your Christmas present this year. Off to finish the rest off!
Toodles!
I love mine! You are so crazy creative!! And energetic. I want to be you when I get younger…
2 Comments